Previous post: 如何获得一个博客(建站三件套第三套)
Last time, we talked about blogs. Now I want to talk about the mail system.
This time, I’m using a project from another awesome developer. If I’ve made any mistakes, feel free to point them out!
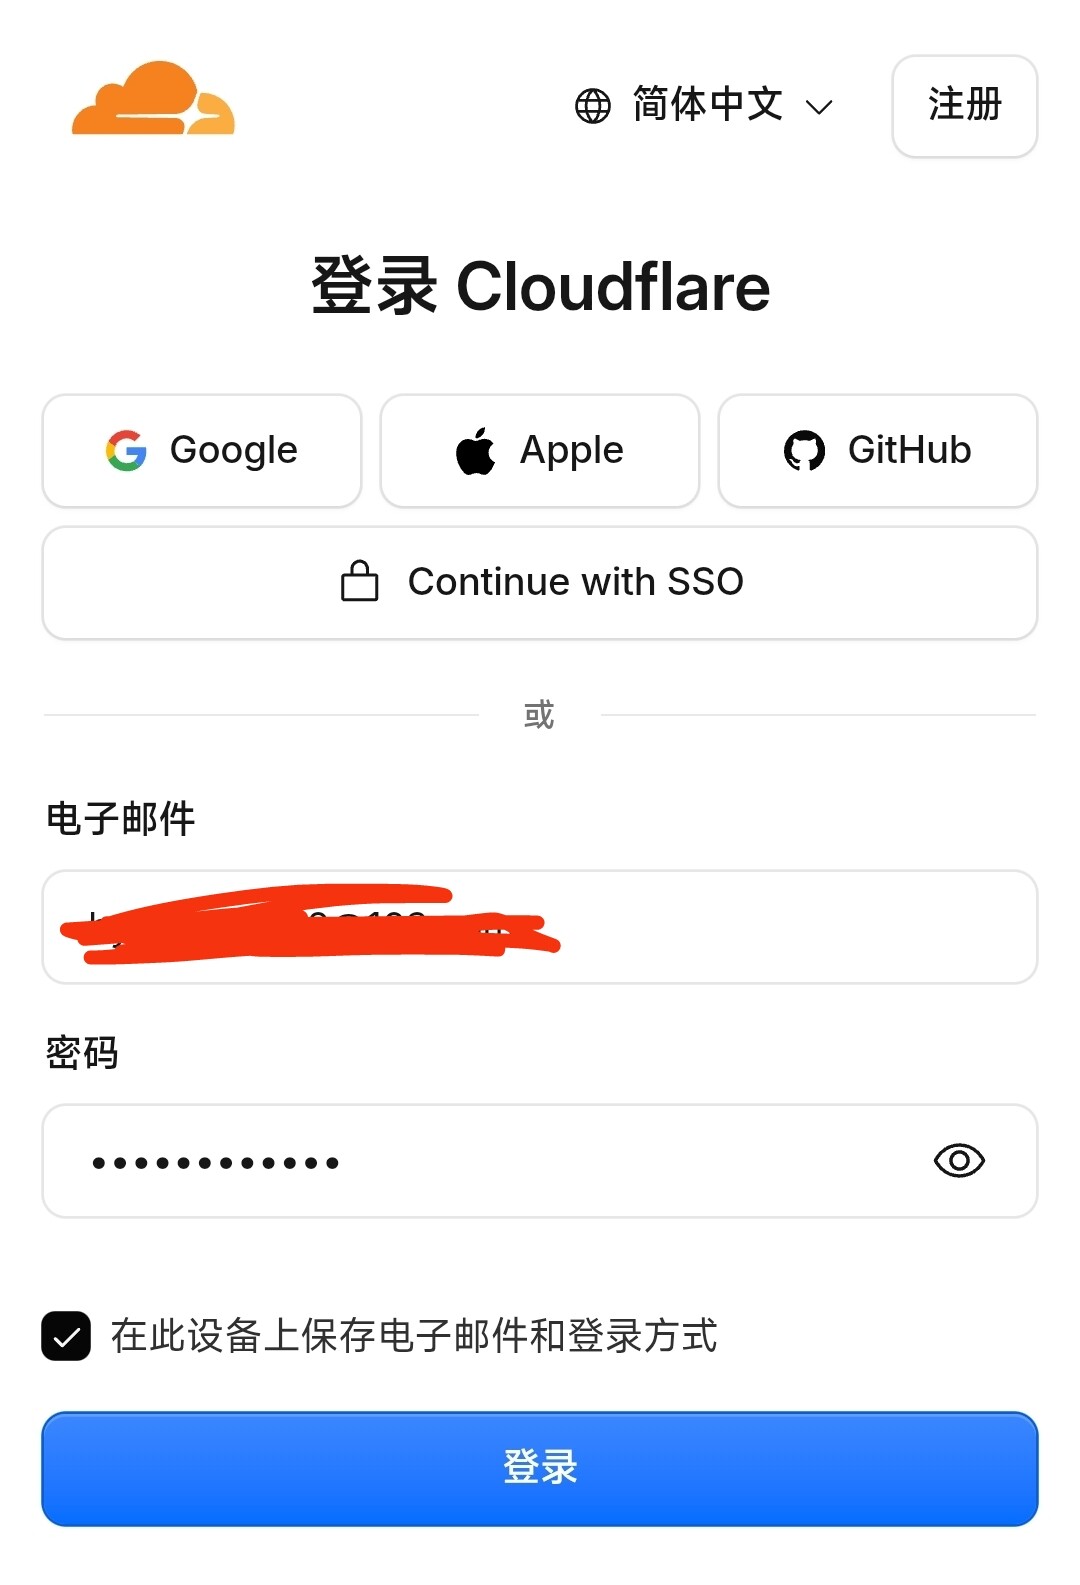
- Register and log in to a CF (Cloudflare) account (After registering, you don’t need to verify your email immediately, that’s done later.)
- Bind your domain name
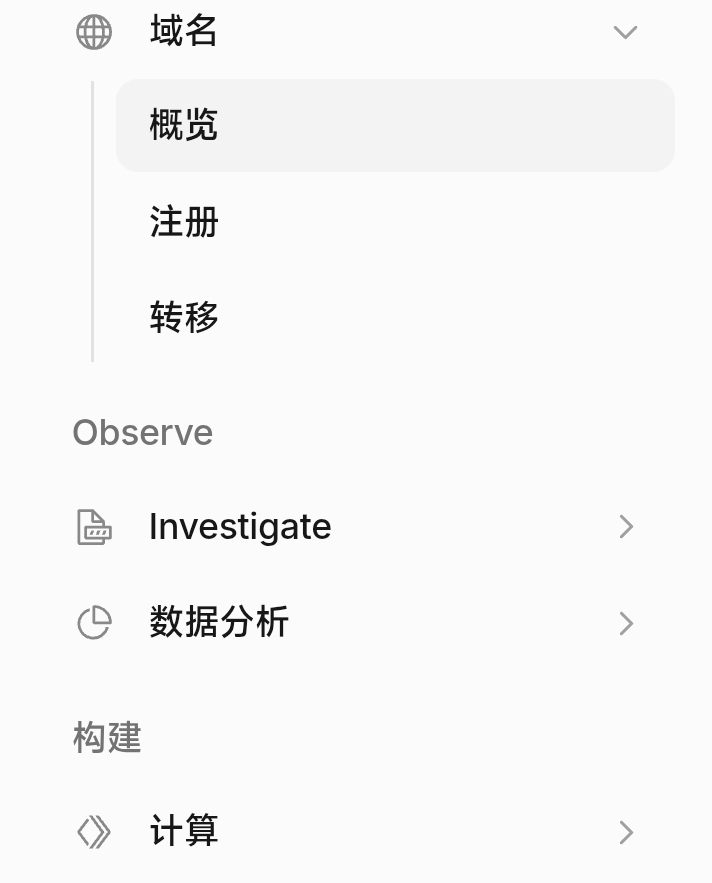
2.1 Open your domain and go to Overview
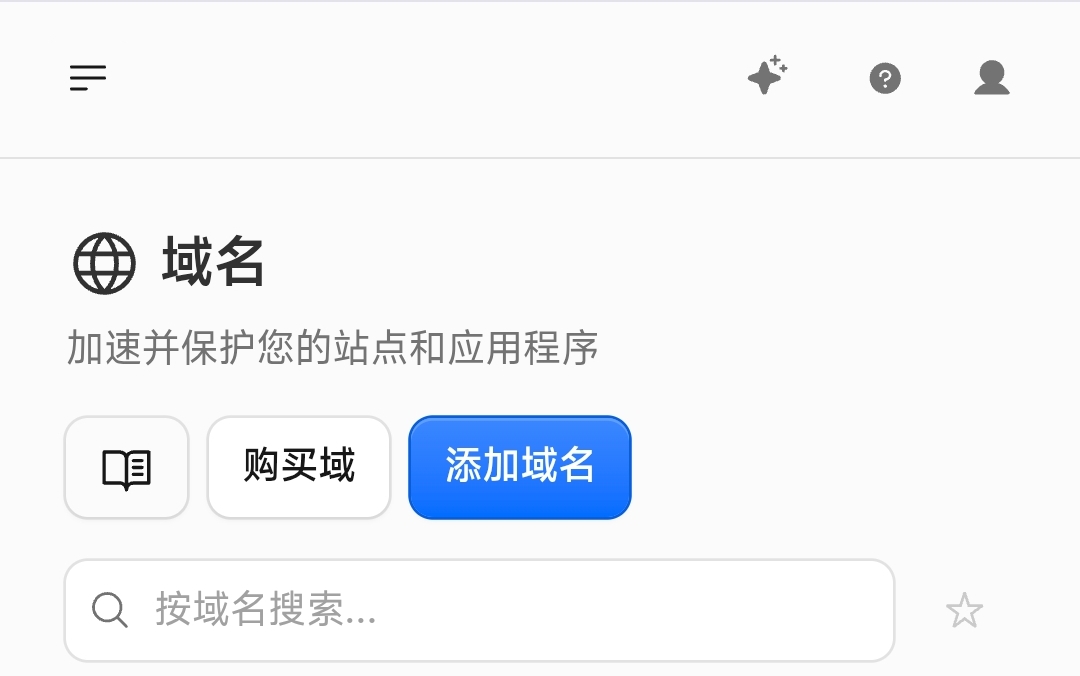
2.2 Bind the domain
Click “Add Site.” Still use ns binding. - Deploying the mail system
Open GitHub - maillab/cloud-mail: A Cloudflare-based email service | 基于 Cloudflare 的邮箱服务 | Cloudflare Email 邮箱 Mail · GitHub
Fork it to your account
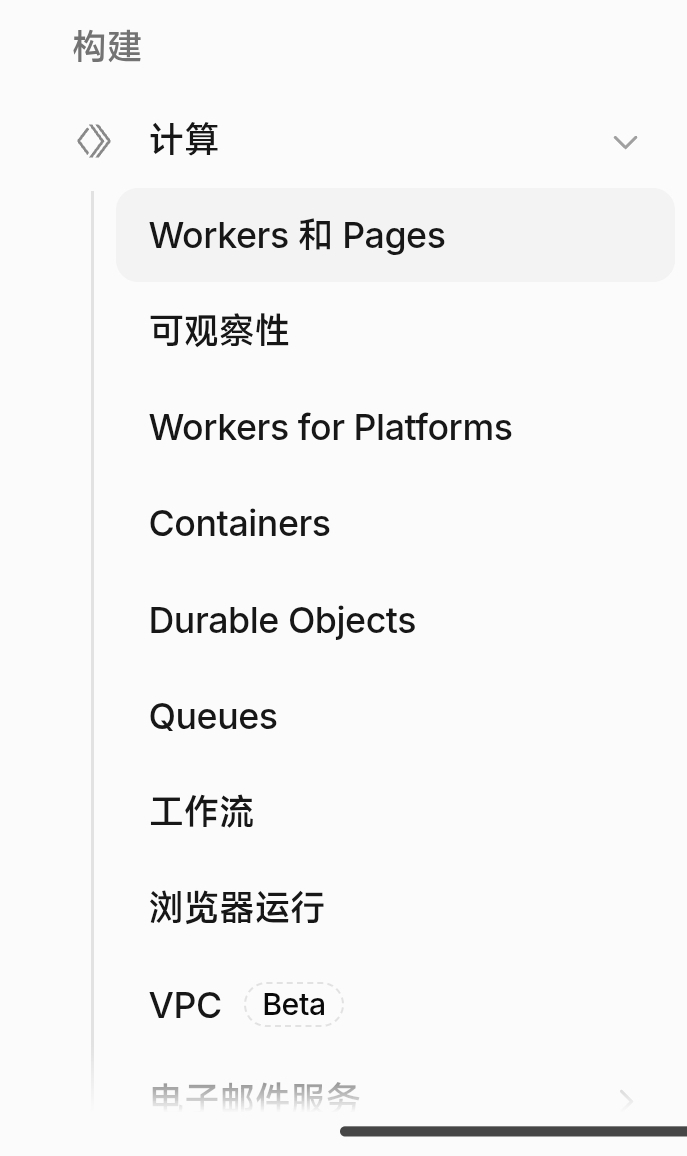
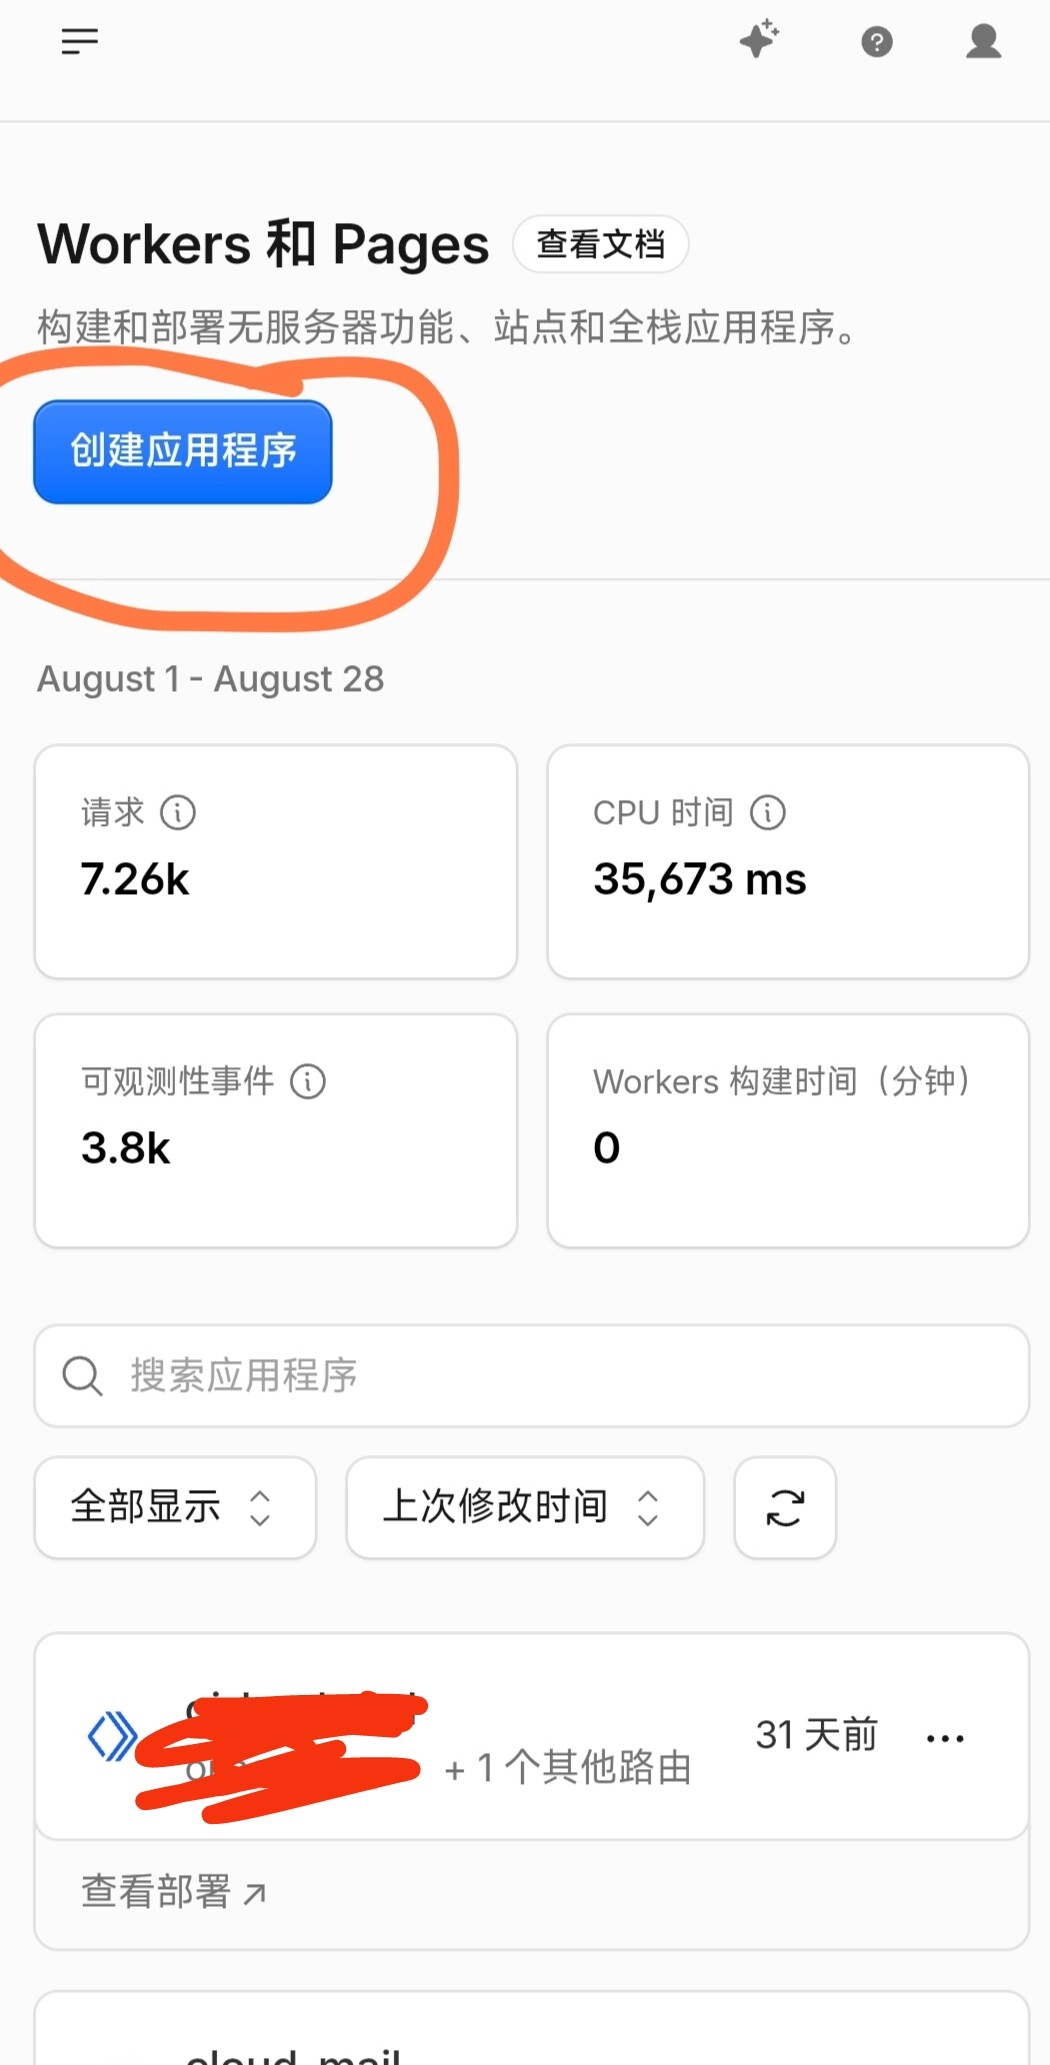
Open Cloudflare Workers and Pages
Click “Create Application”
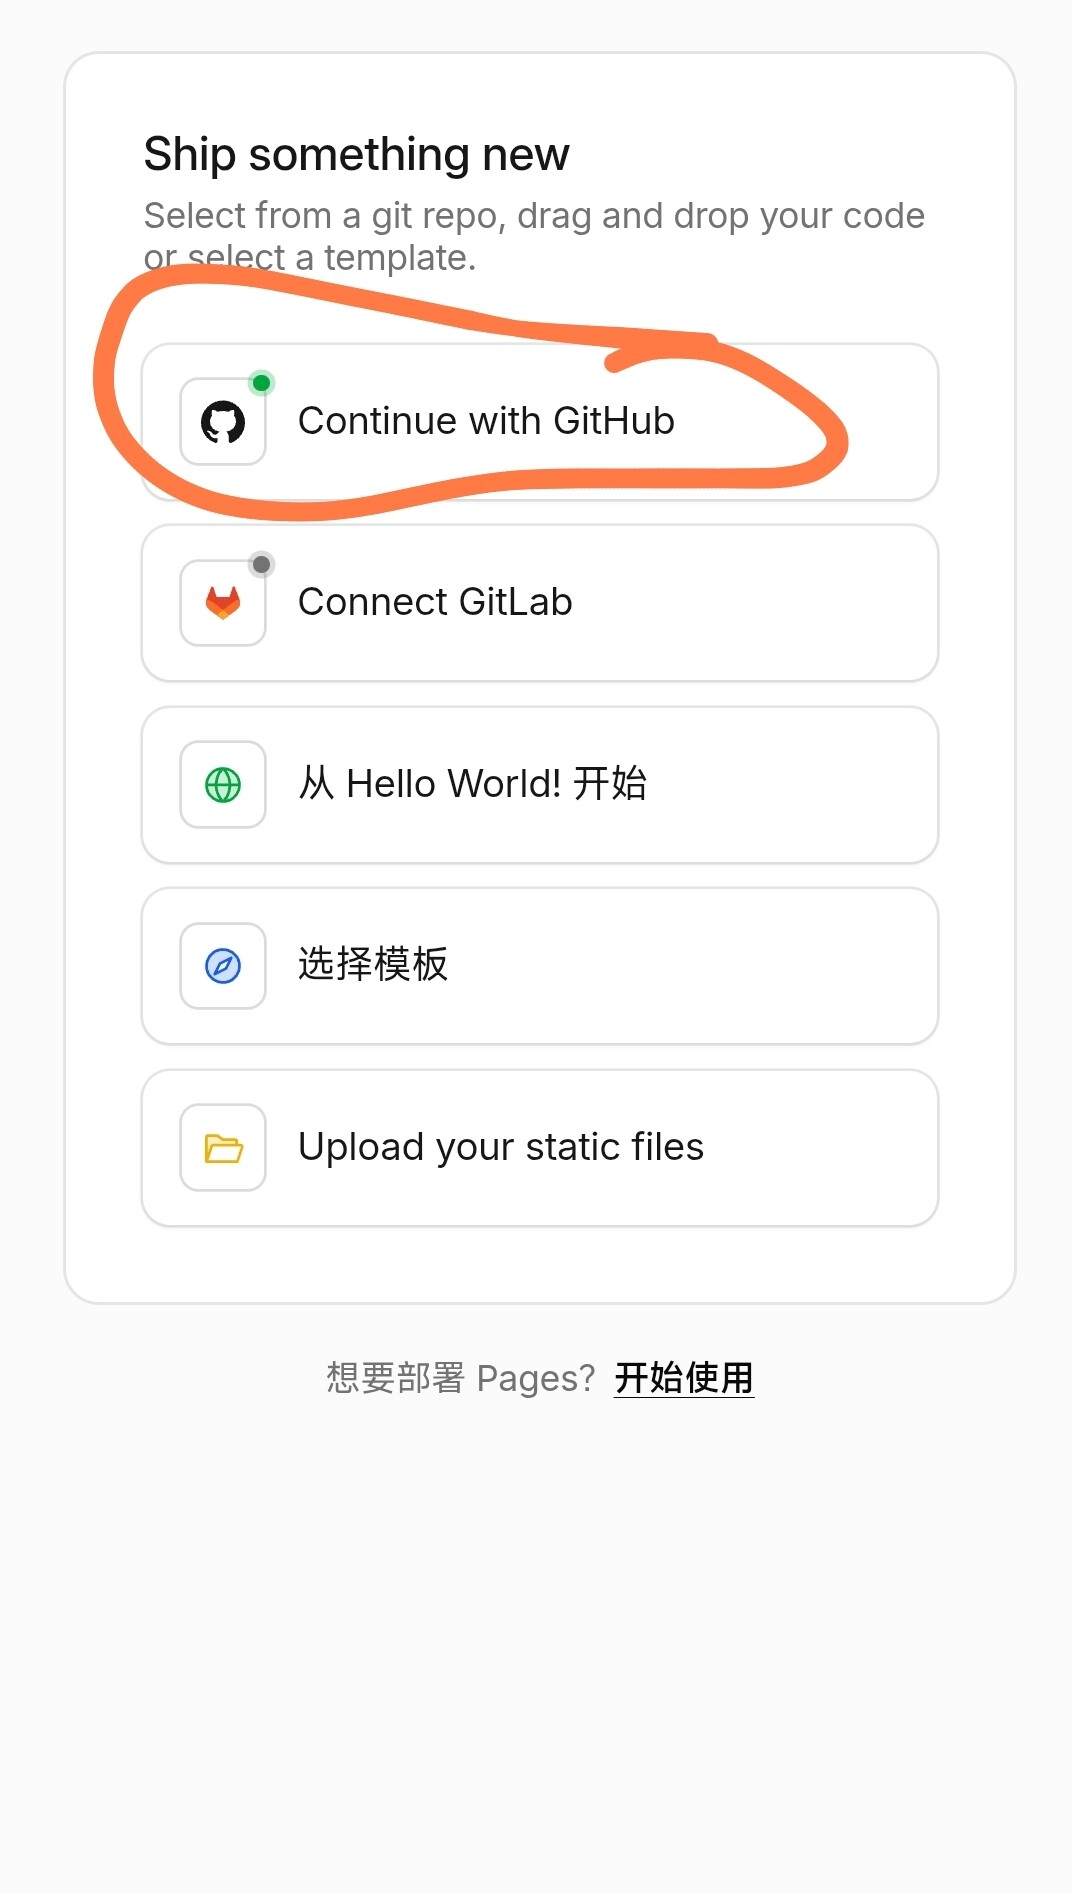
Then choose GitHub
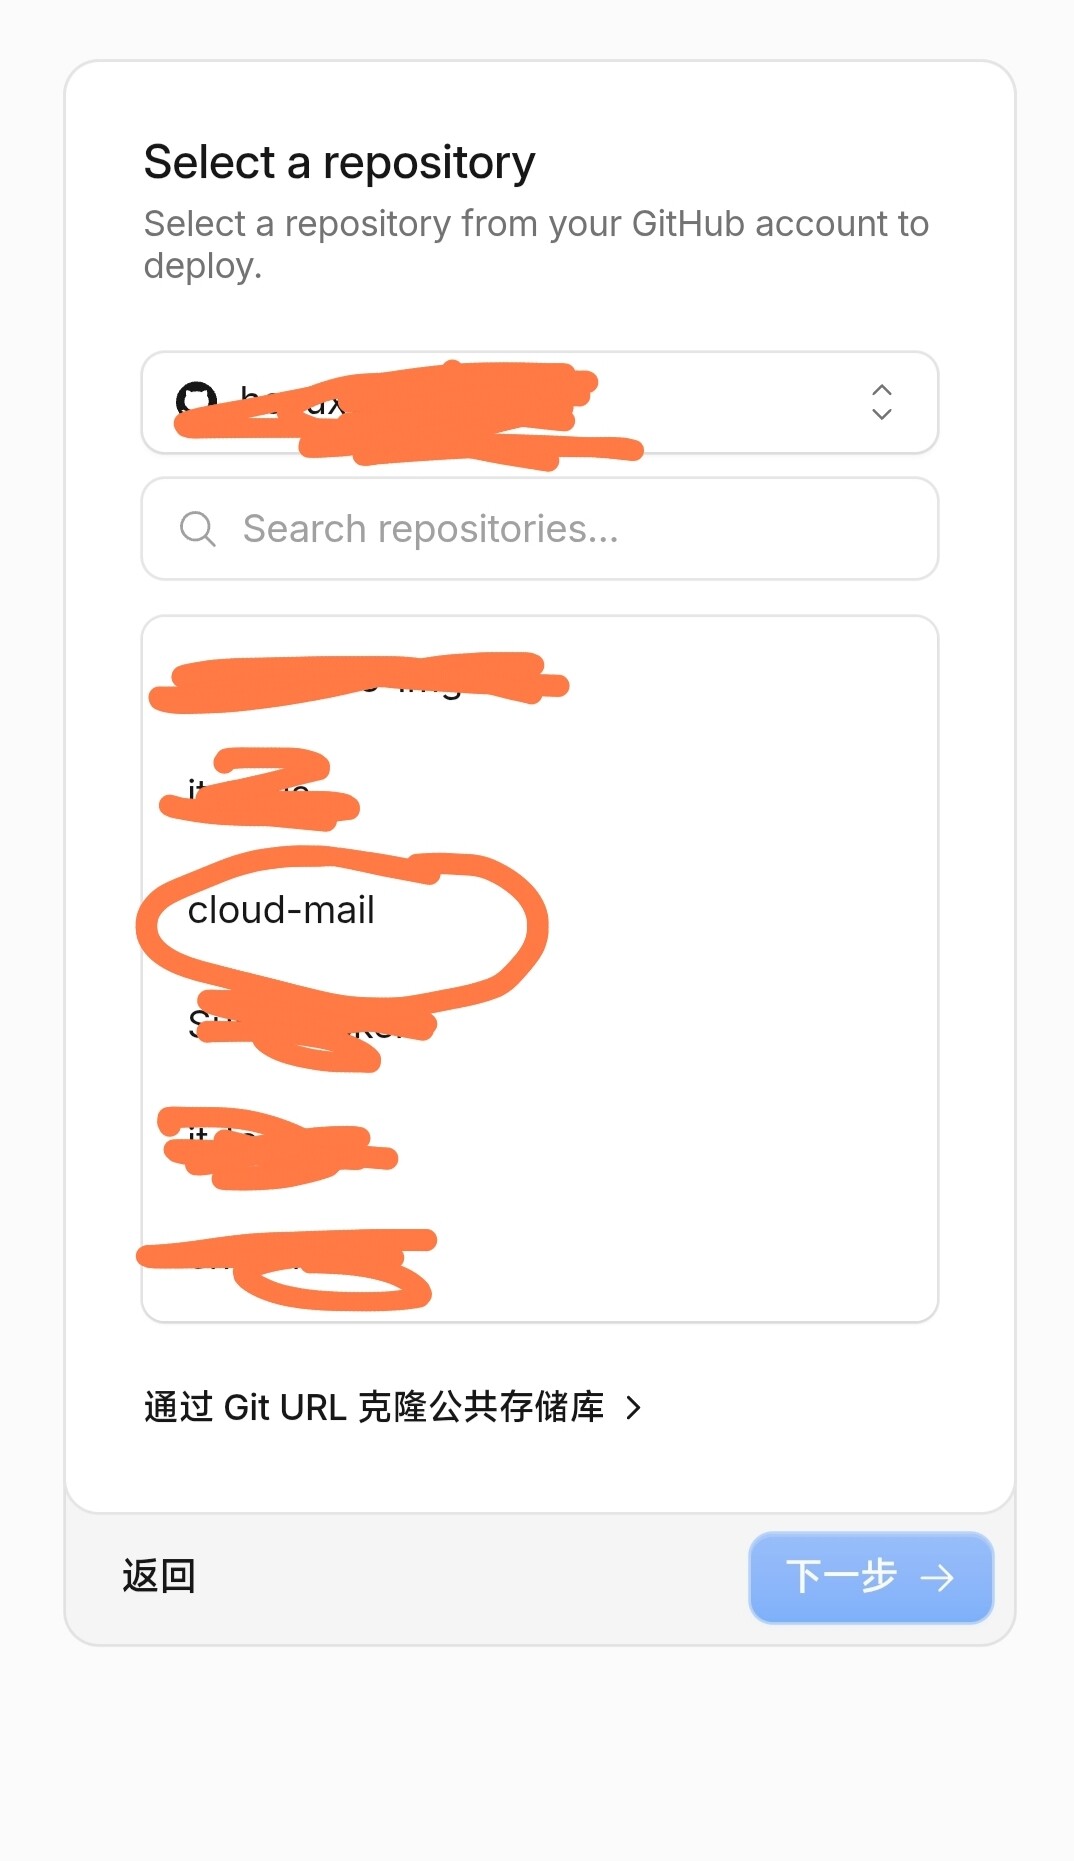
Select the project you just forked
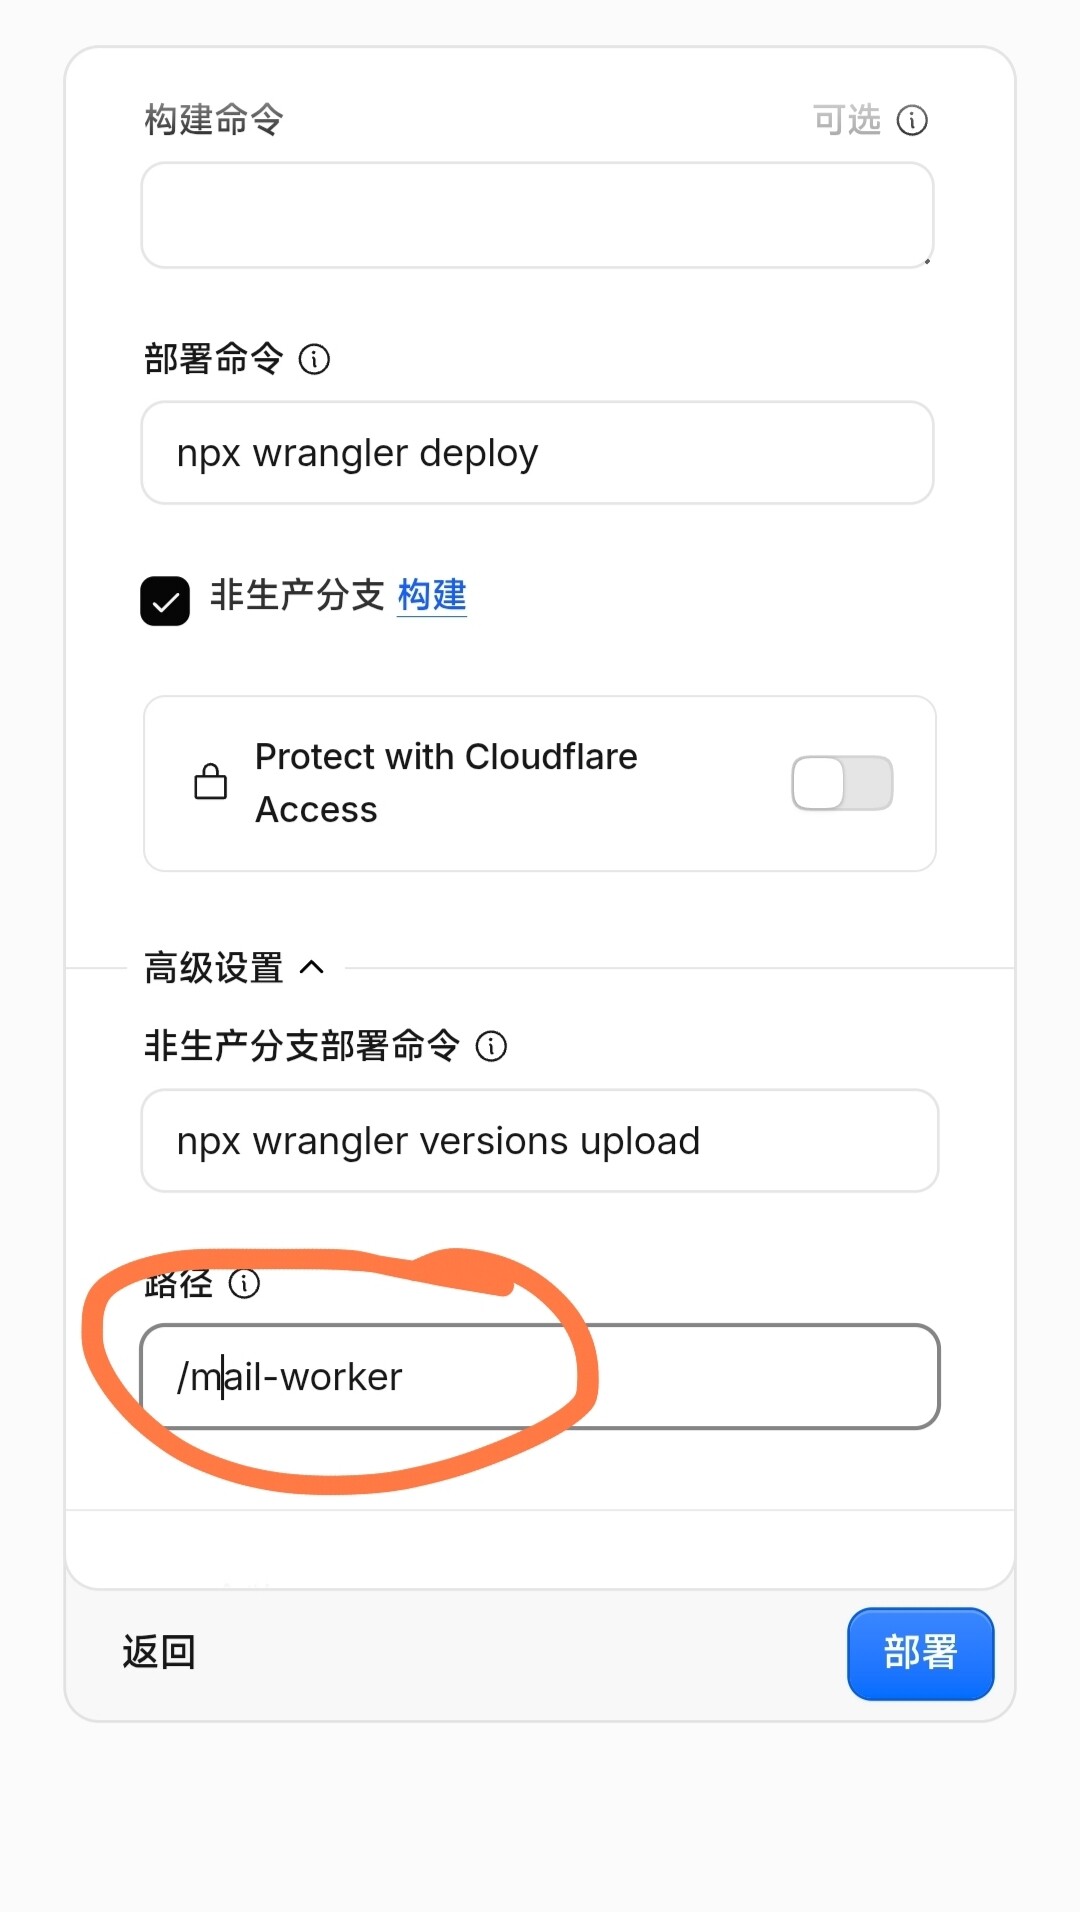
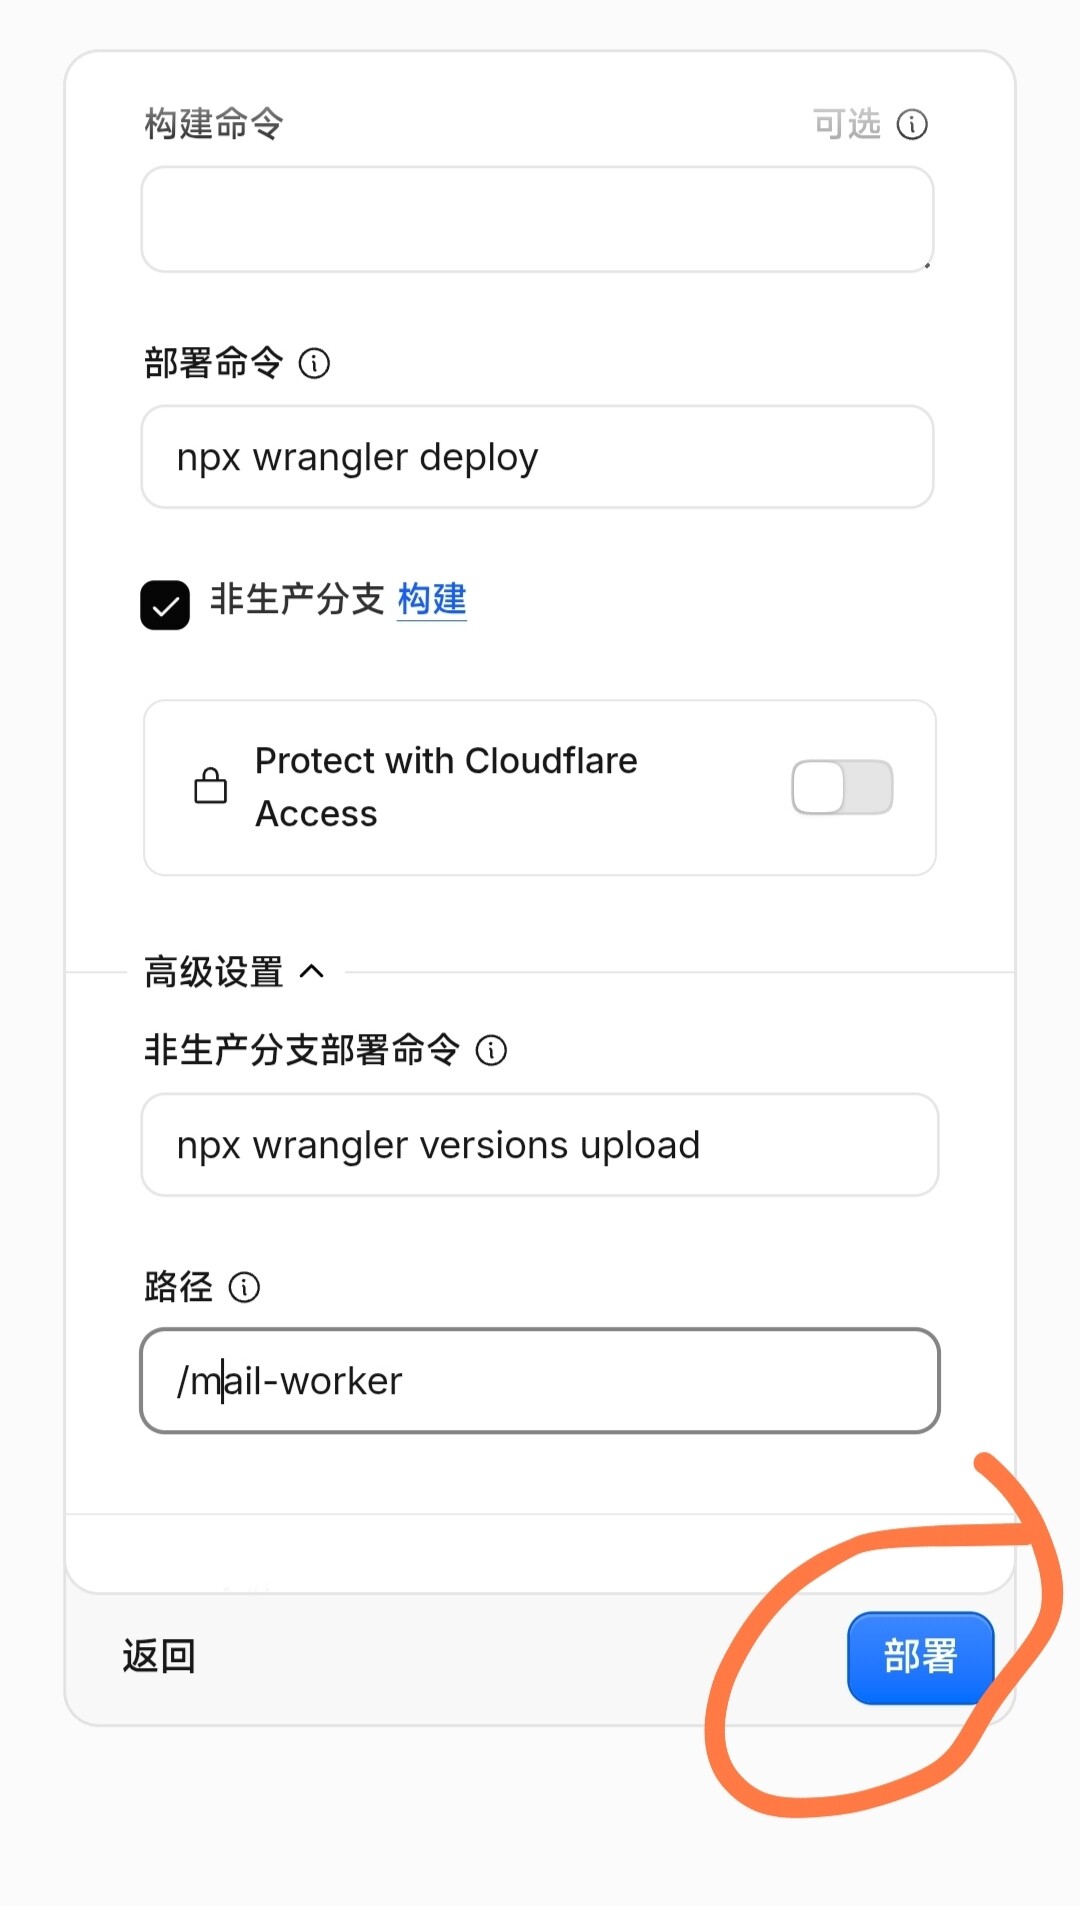
Change the build branch to mail-worker
Click “Deploy”
Then add the variable: admin, a text variable
For example, if your domain is a.a (an email, suffix is the domain you just bound), the value can be [email protected] or [email protected] — the prefix is up to you.
Add variable: domain, a JSON variable
Write it like this: [“a.a”]. This domain must have the suffix you used for the admin above and must be bound to Cloudflare.
Add variable: jwt_secret (text variable).
Type any string you like, as long as others don’t know it. - Buckets
4.1 kv
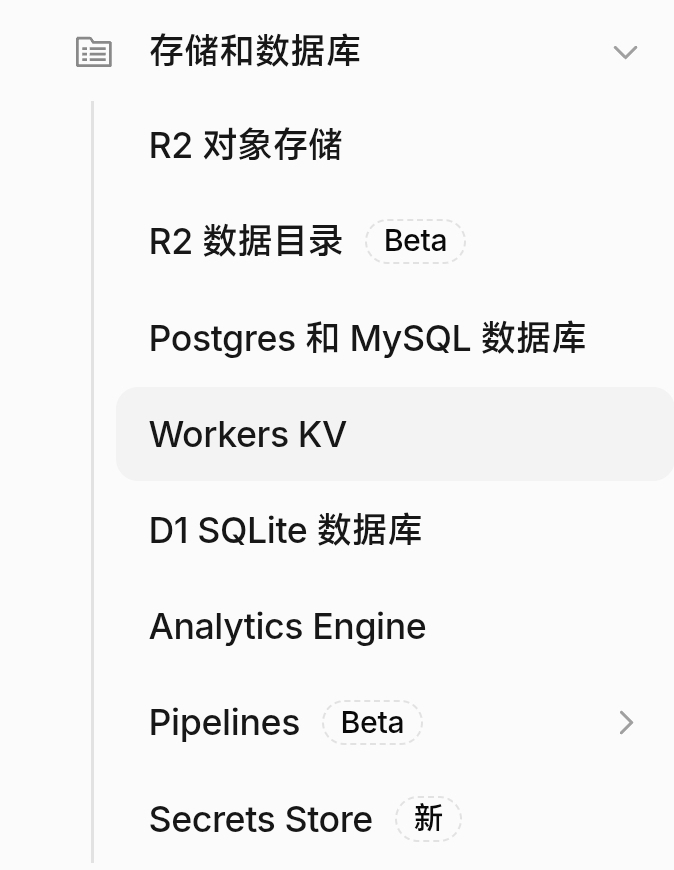
Open Storage & Buckets – Worker KV
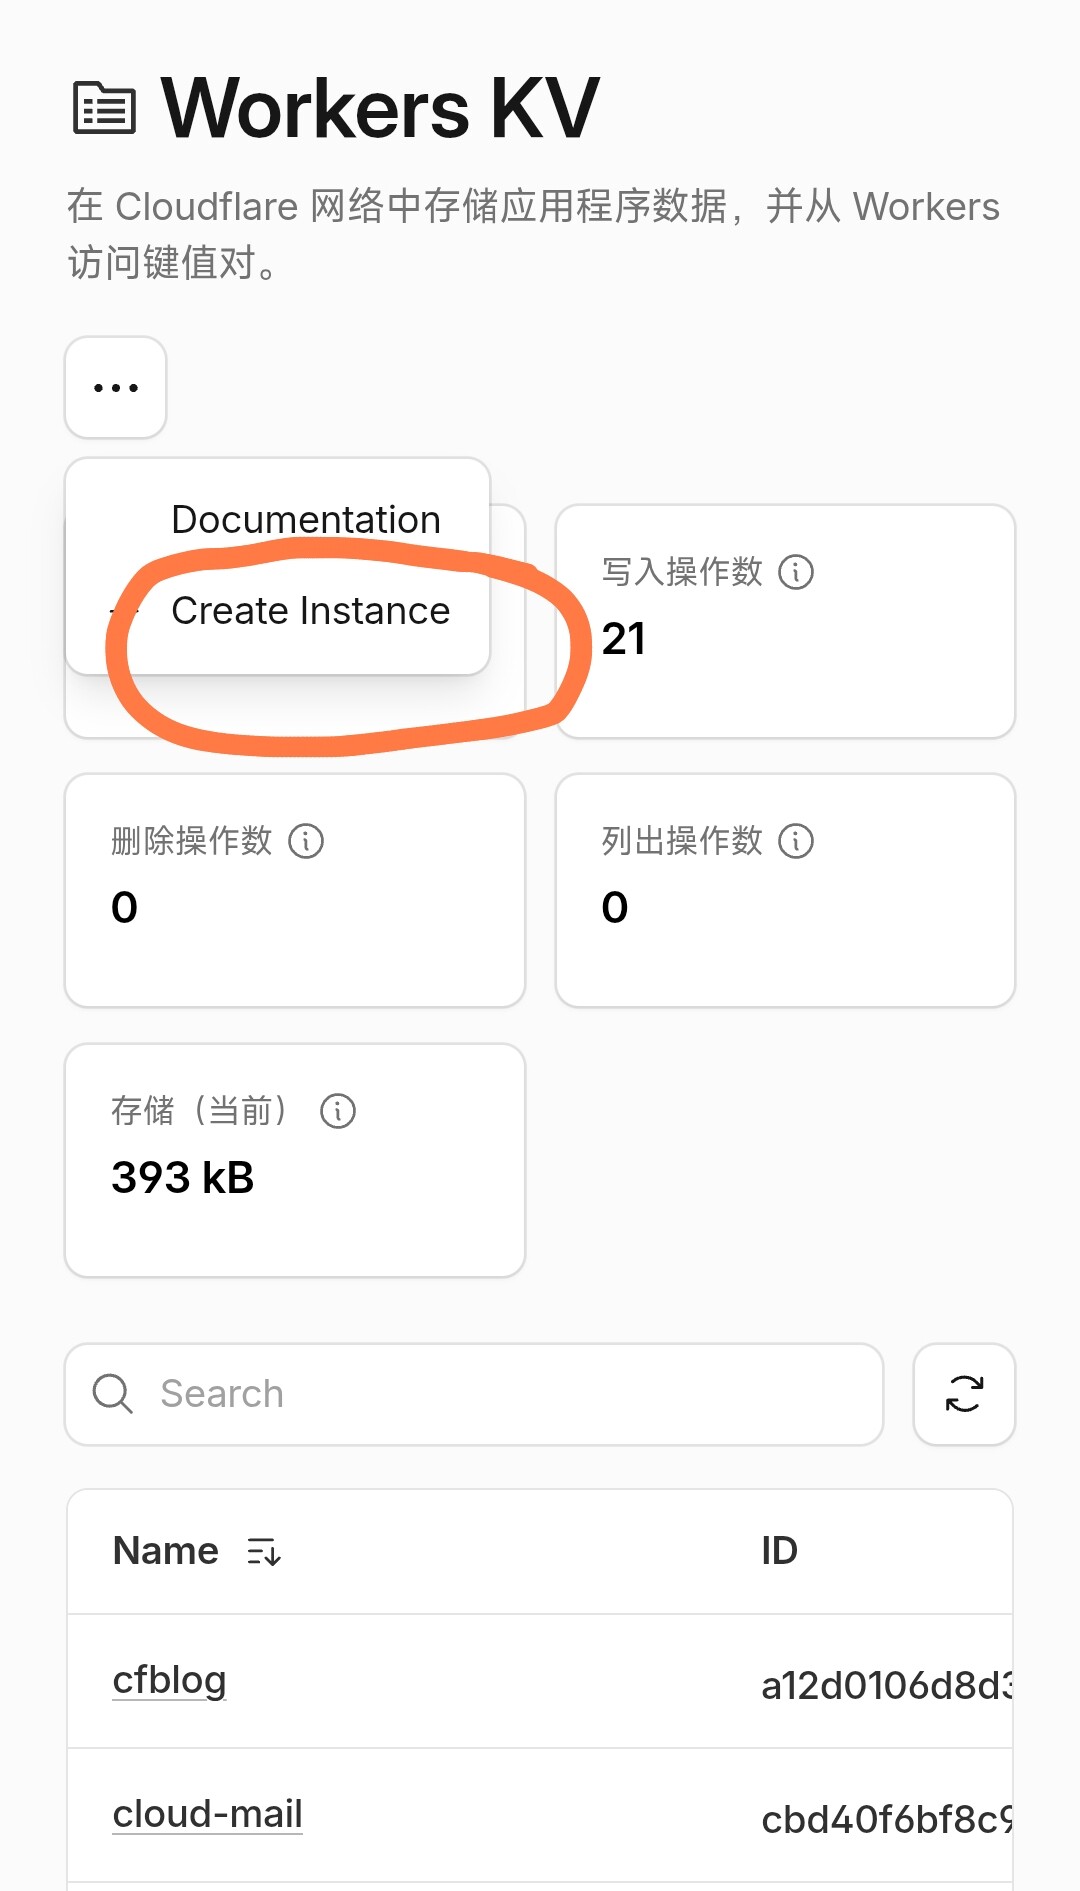
Go to the KV creation page
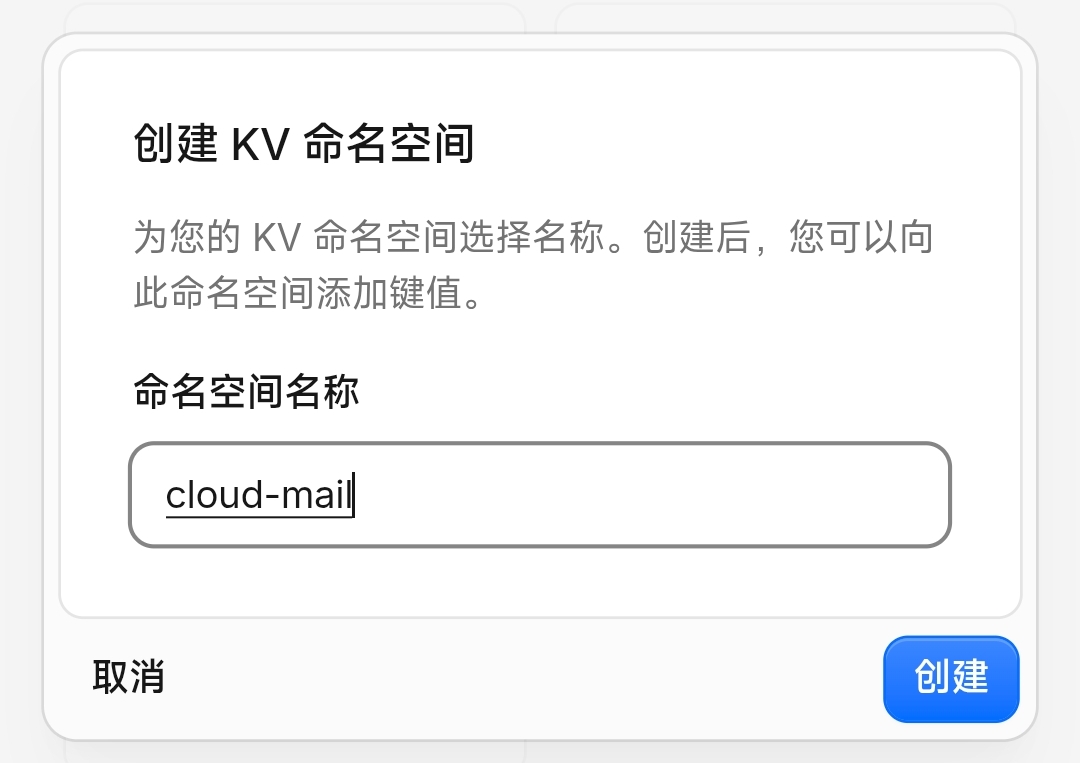
Create a KV called cloud-mail
4.2 d1
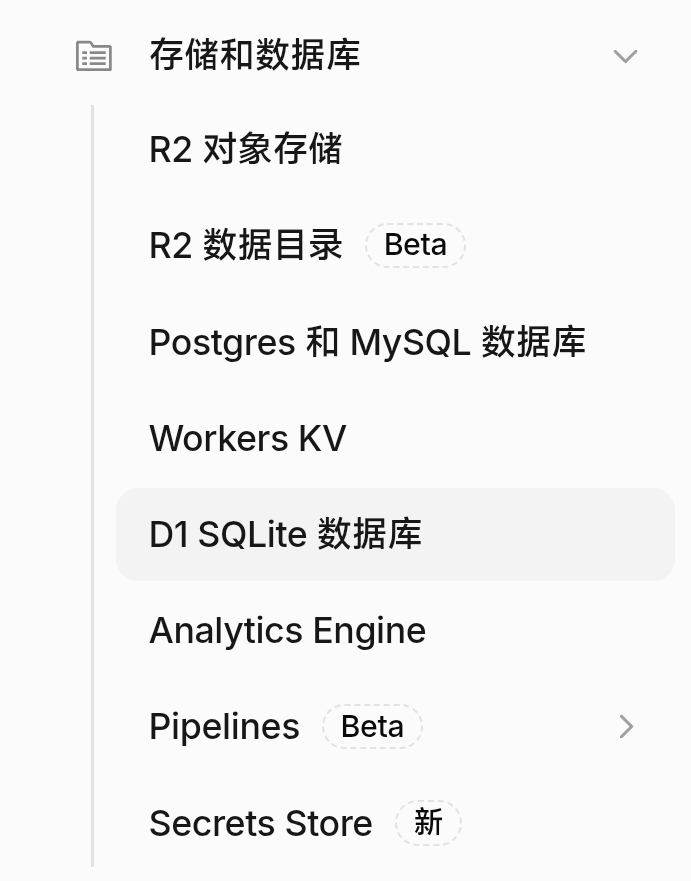
Open Storage & Buckets – D1 SQLite Database
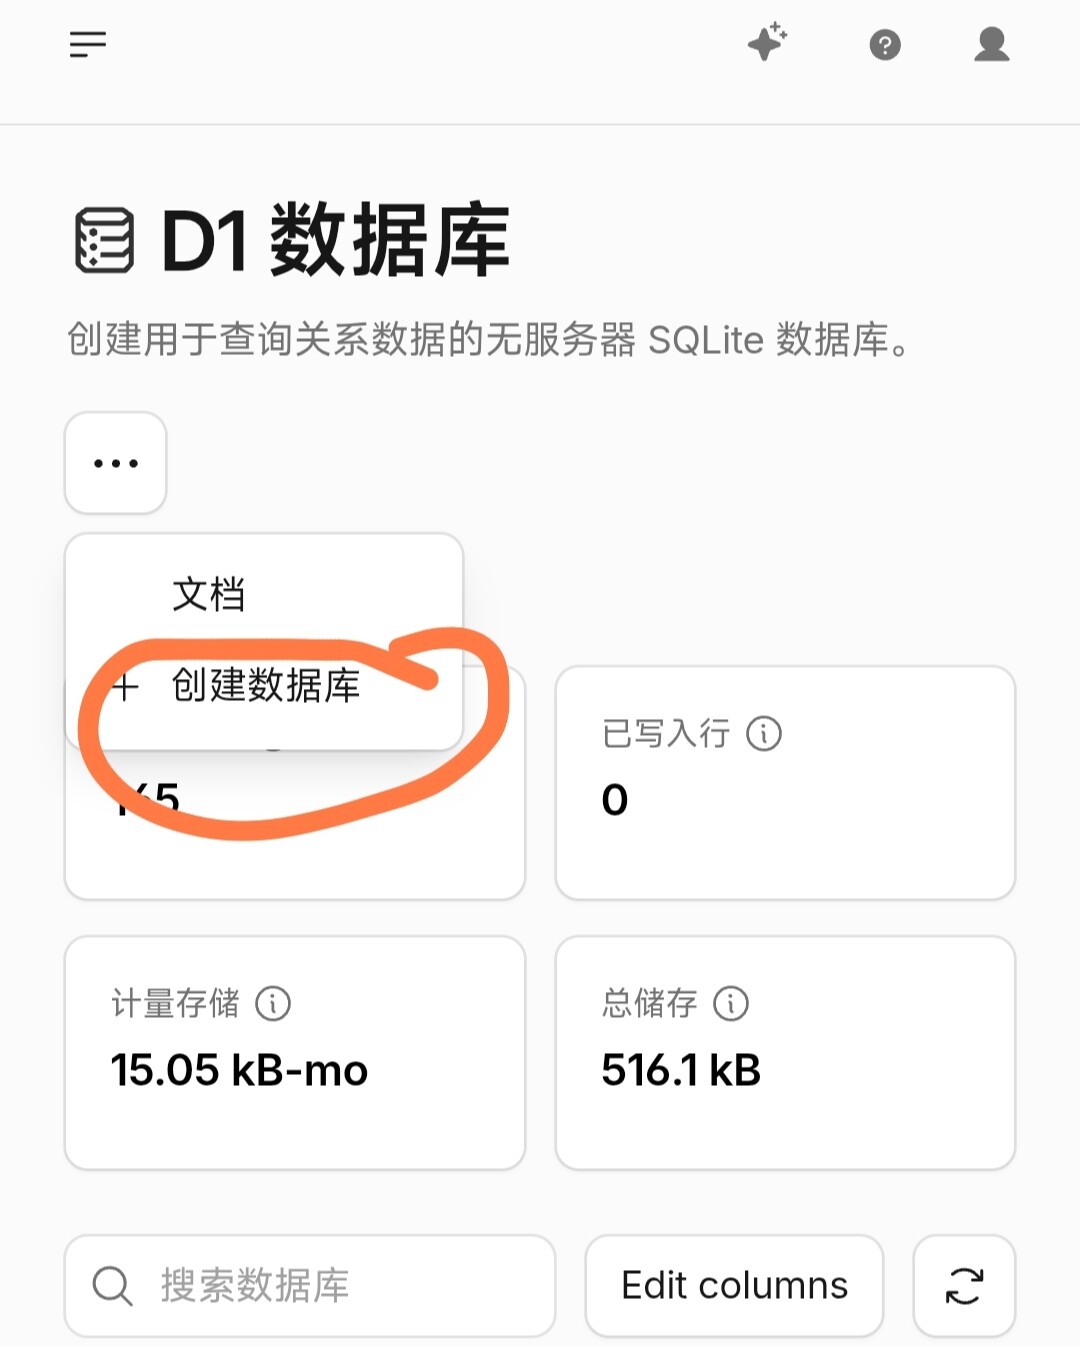
Go to the creation page
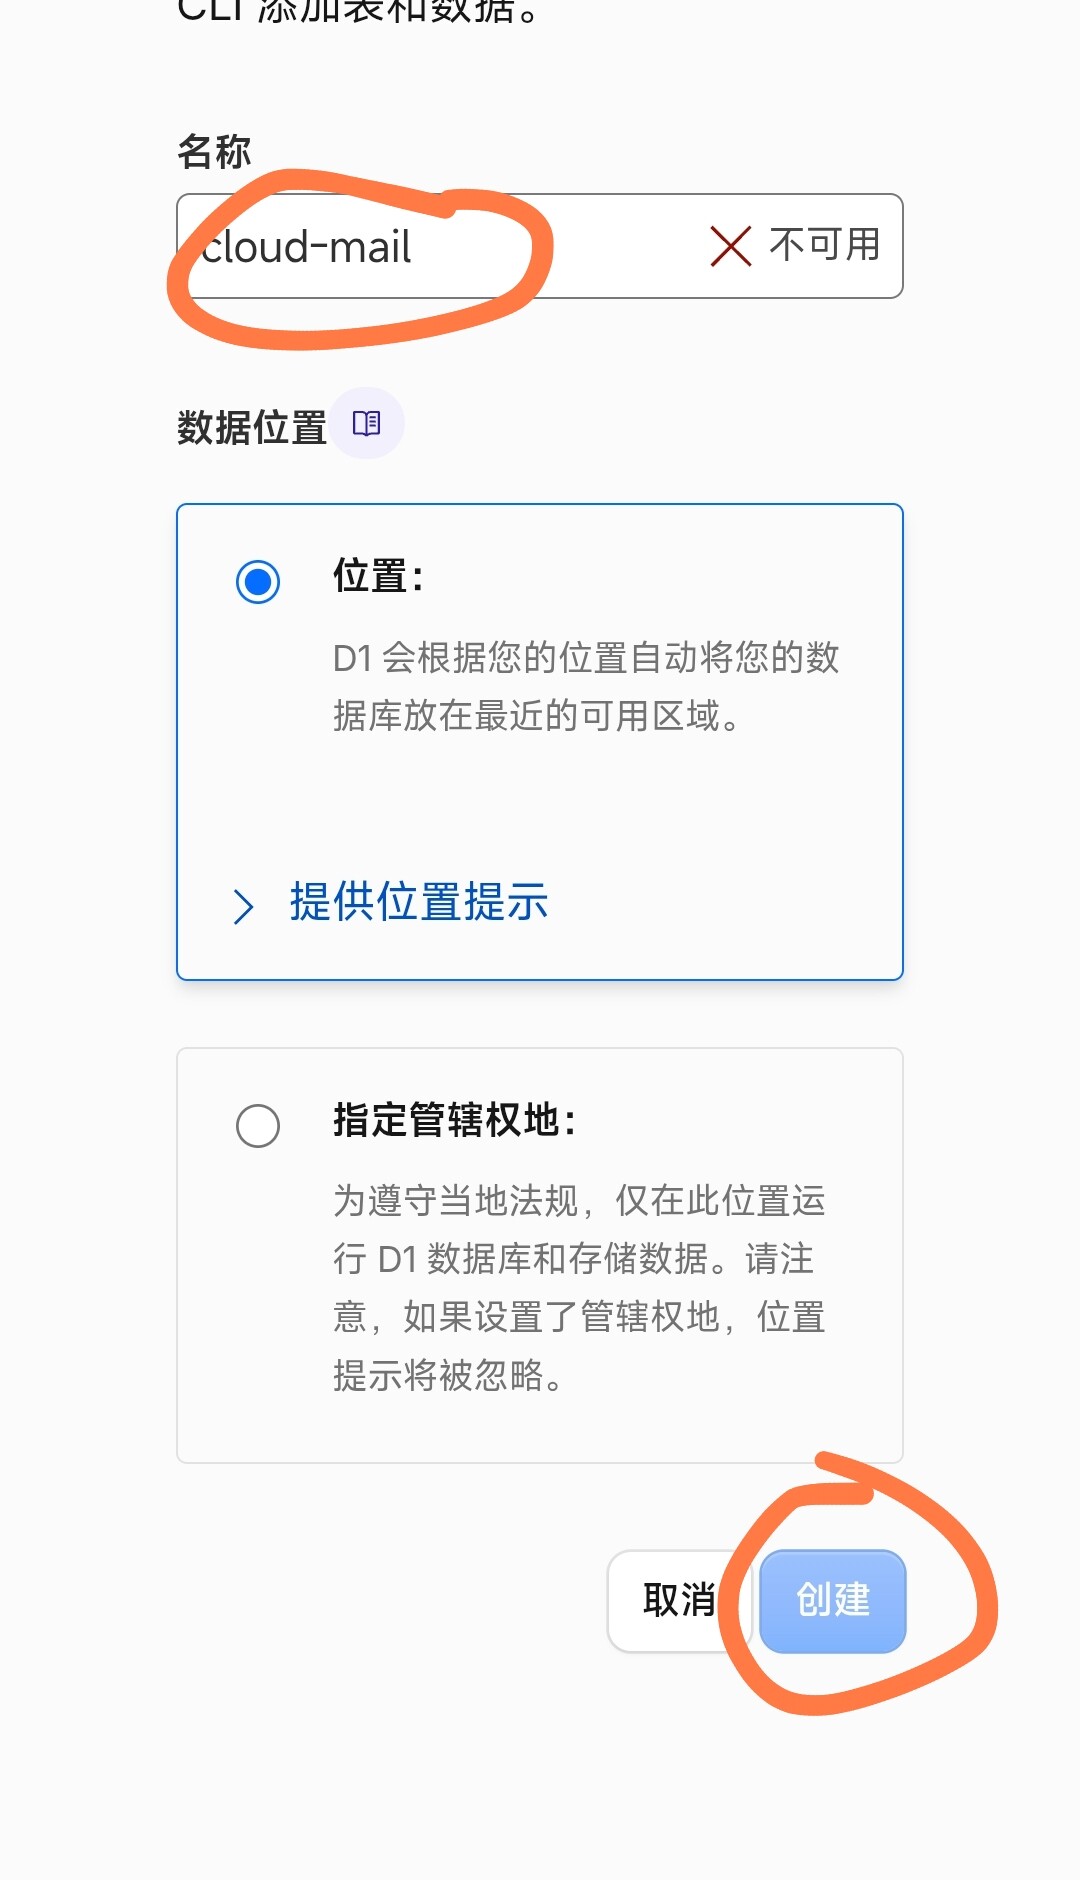
Create a bucket called cloud-mail (I’ve already created one, so mine wasn’t successful)
- Brief miscellaneous settings
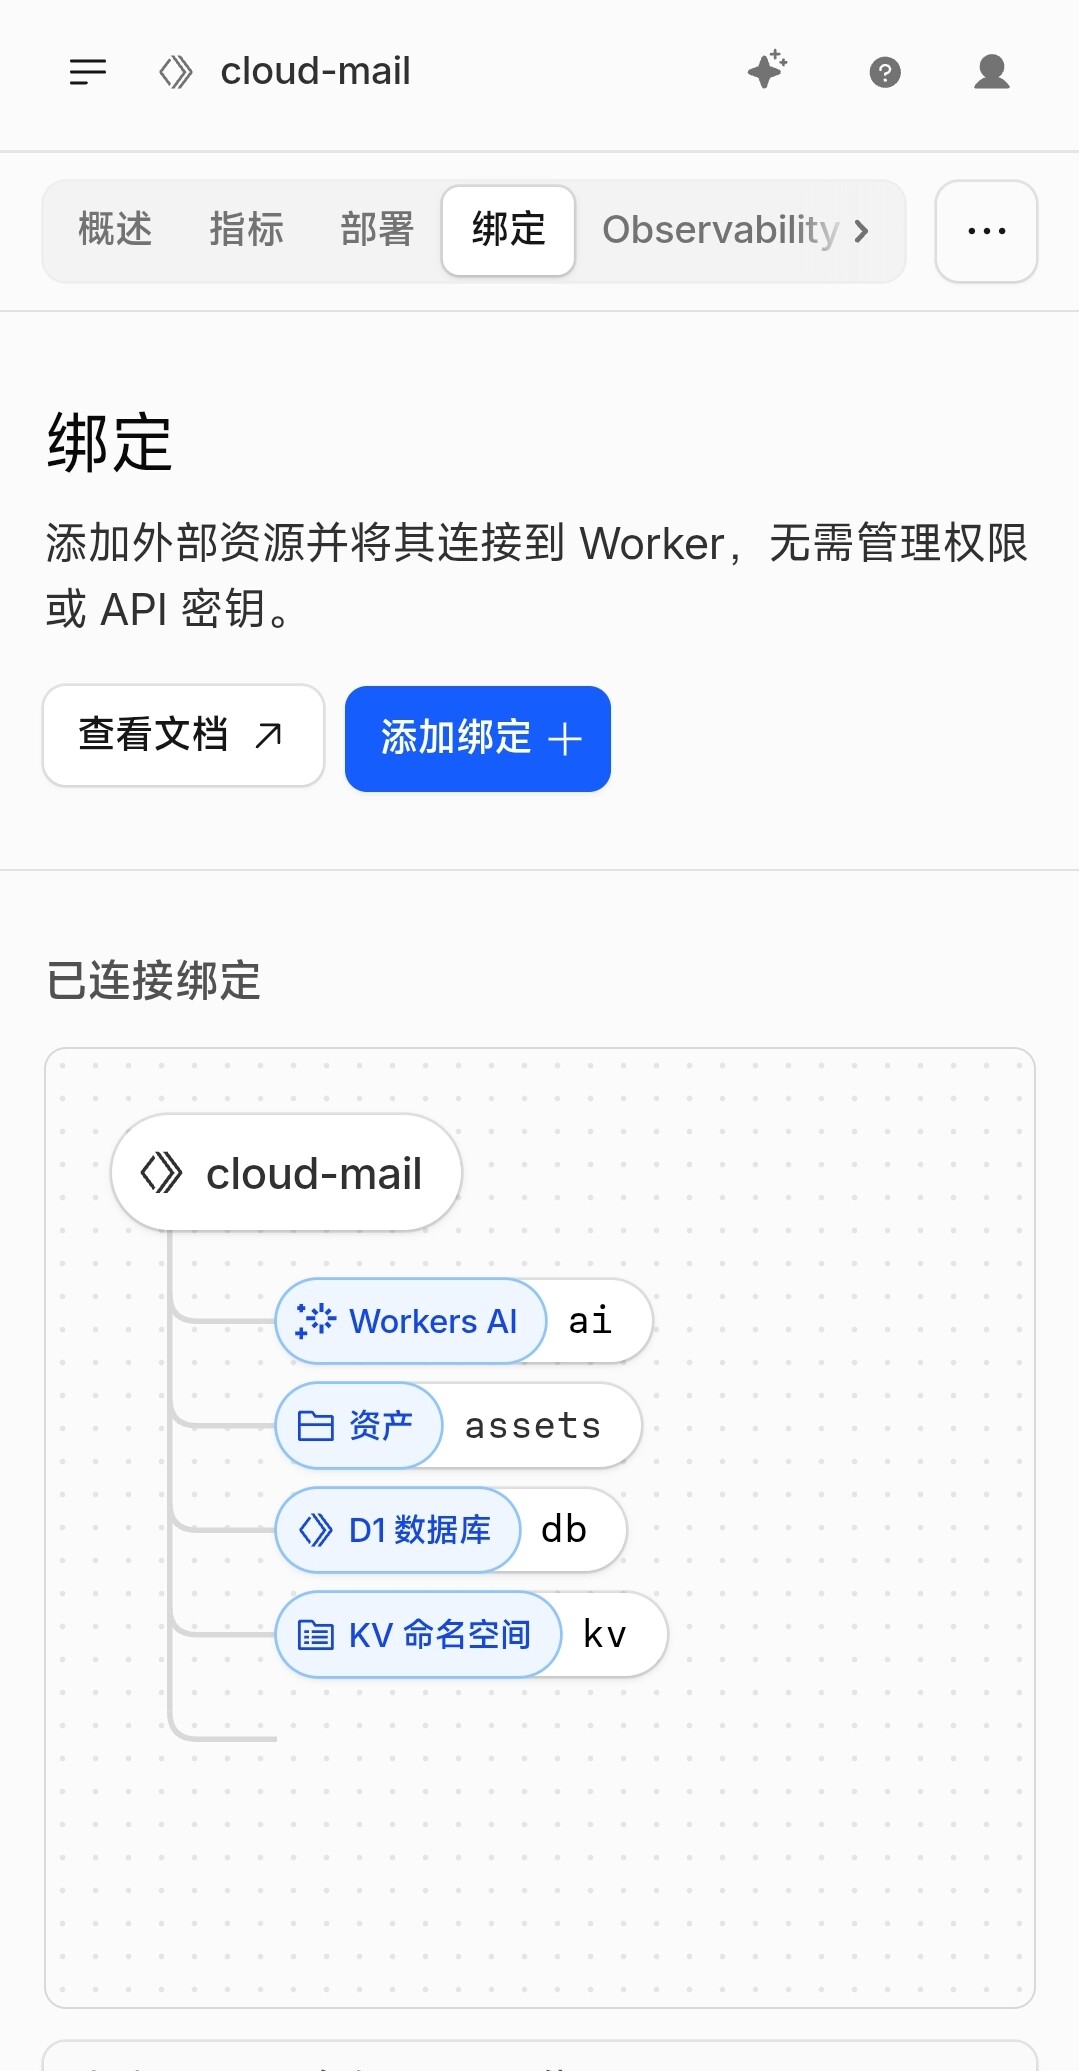
Go back to Workers, click “Bindings,” and bind KV and D1 as kv and db.
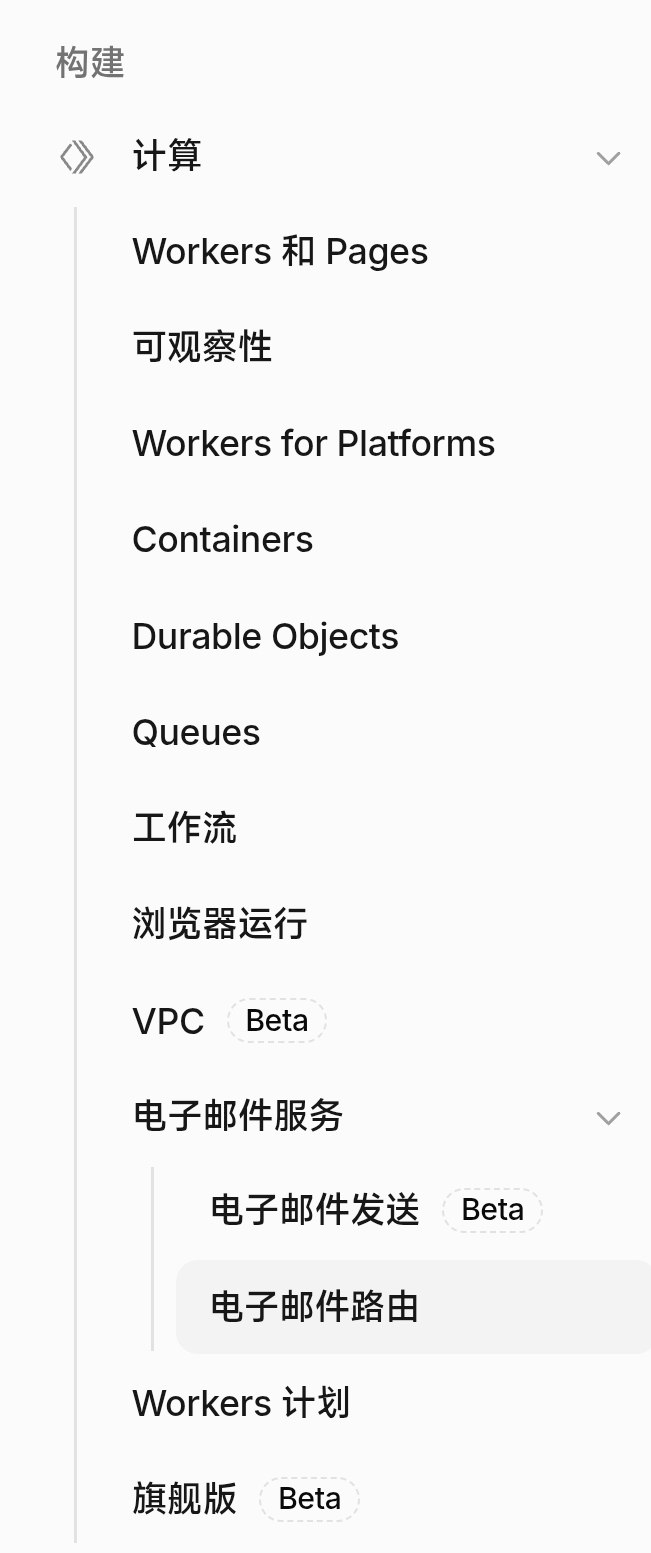
Then go to Computing – Email Services – Email Routing
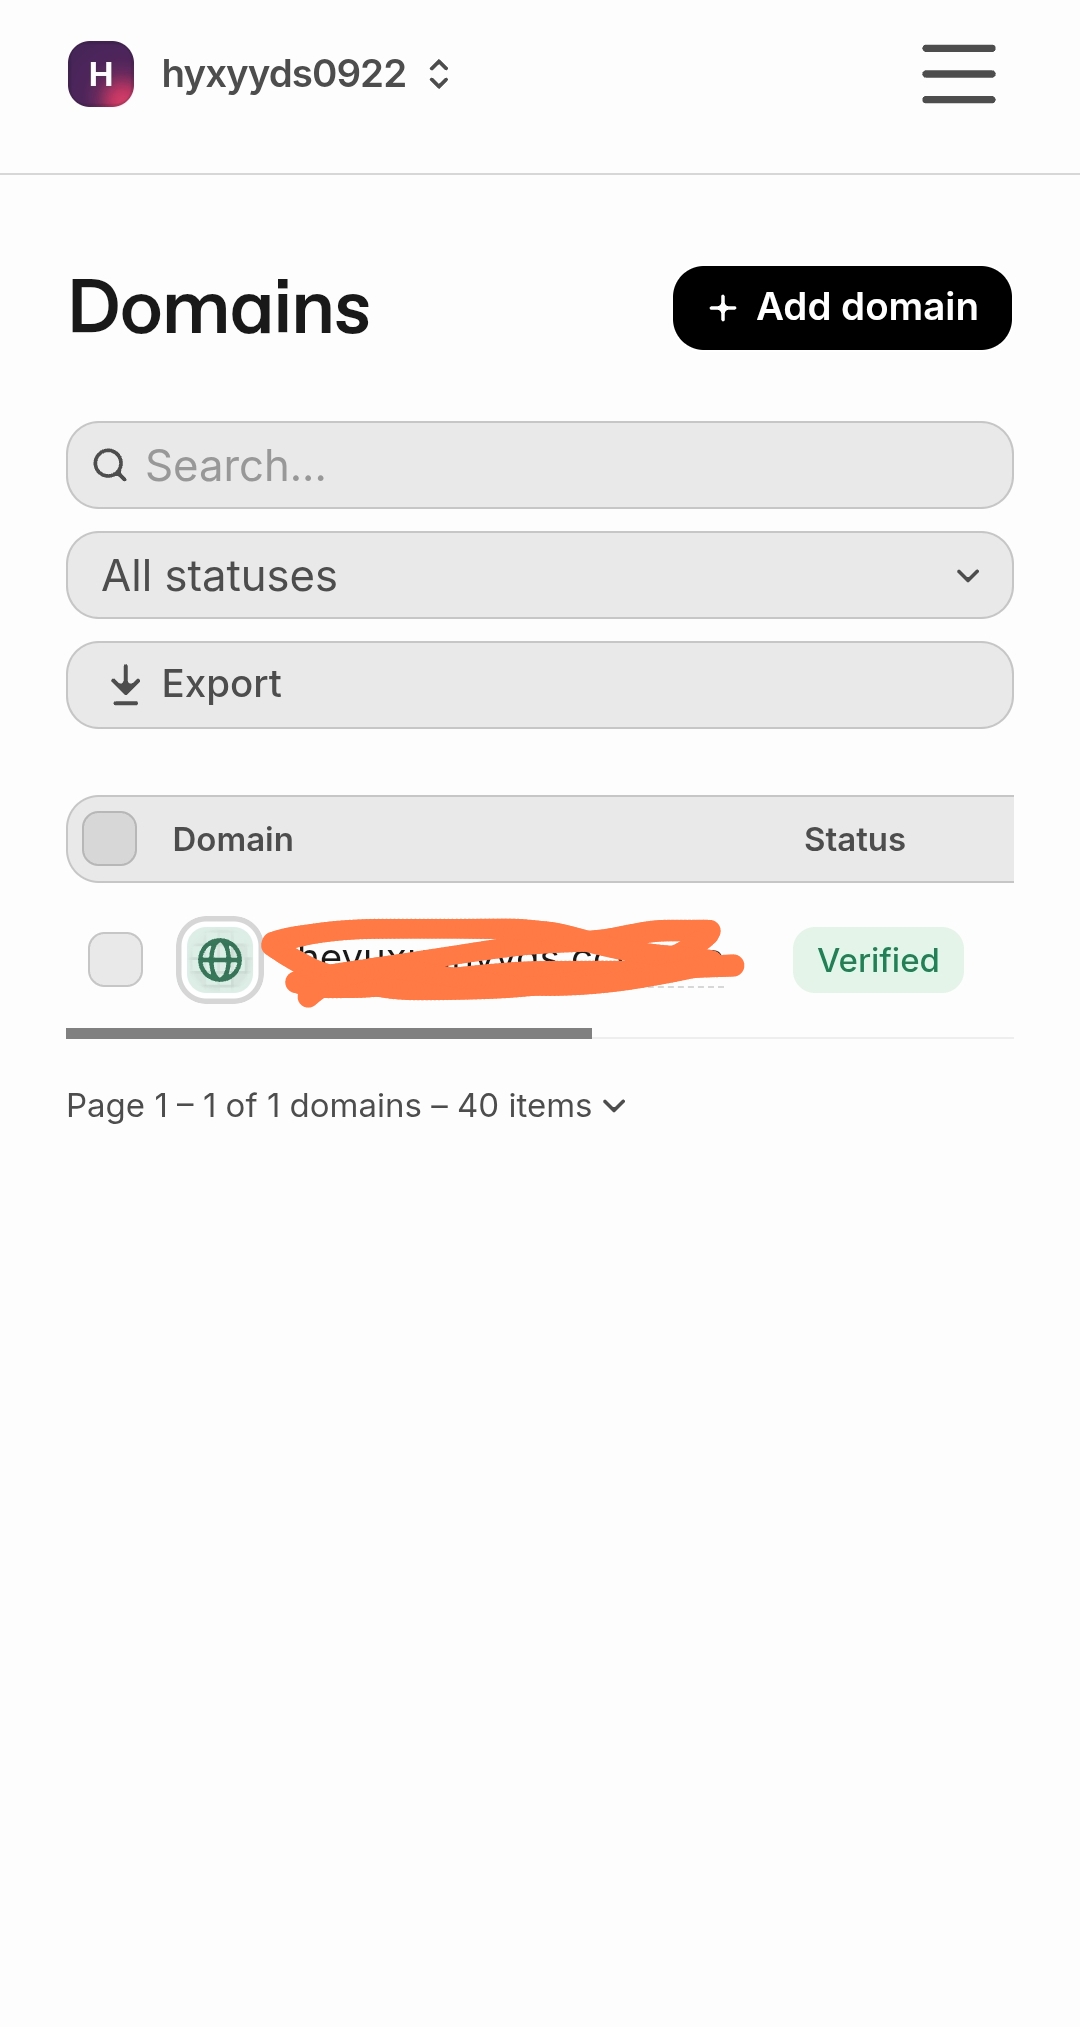
Add all the domains you wrote in domain
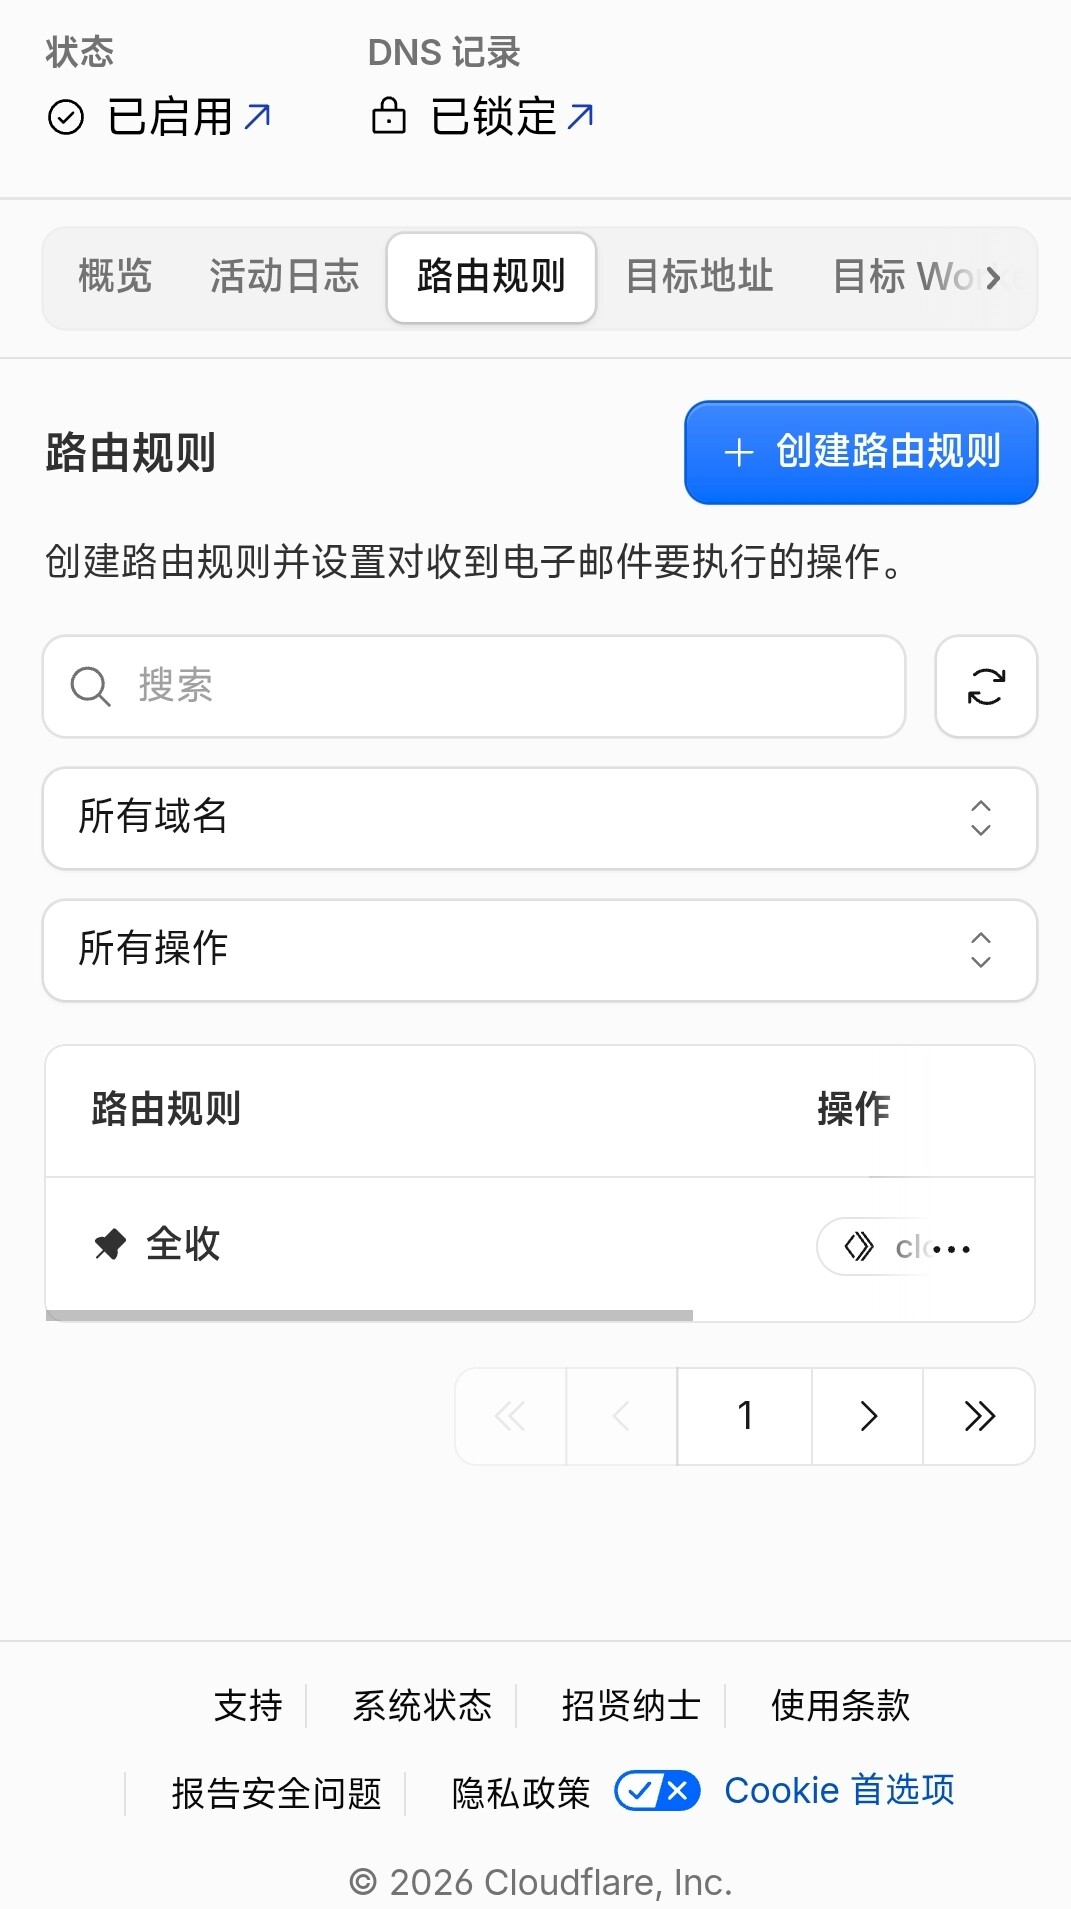
Then do this for each domain: go in and set routing rules
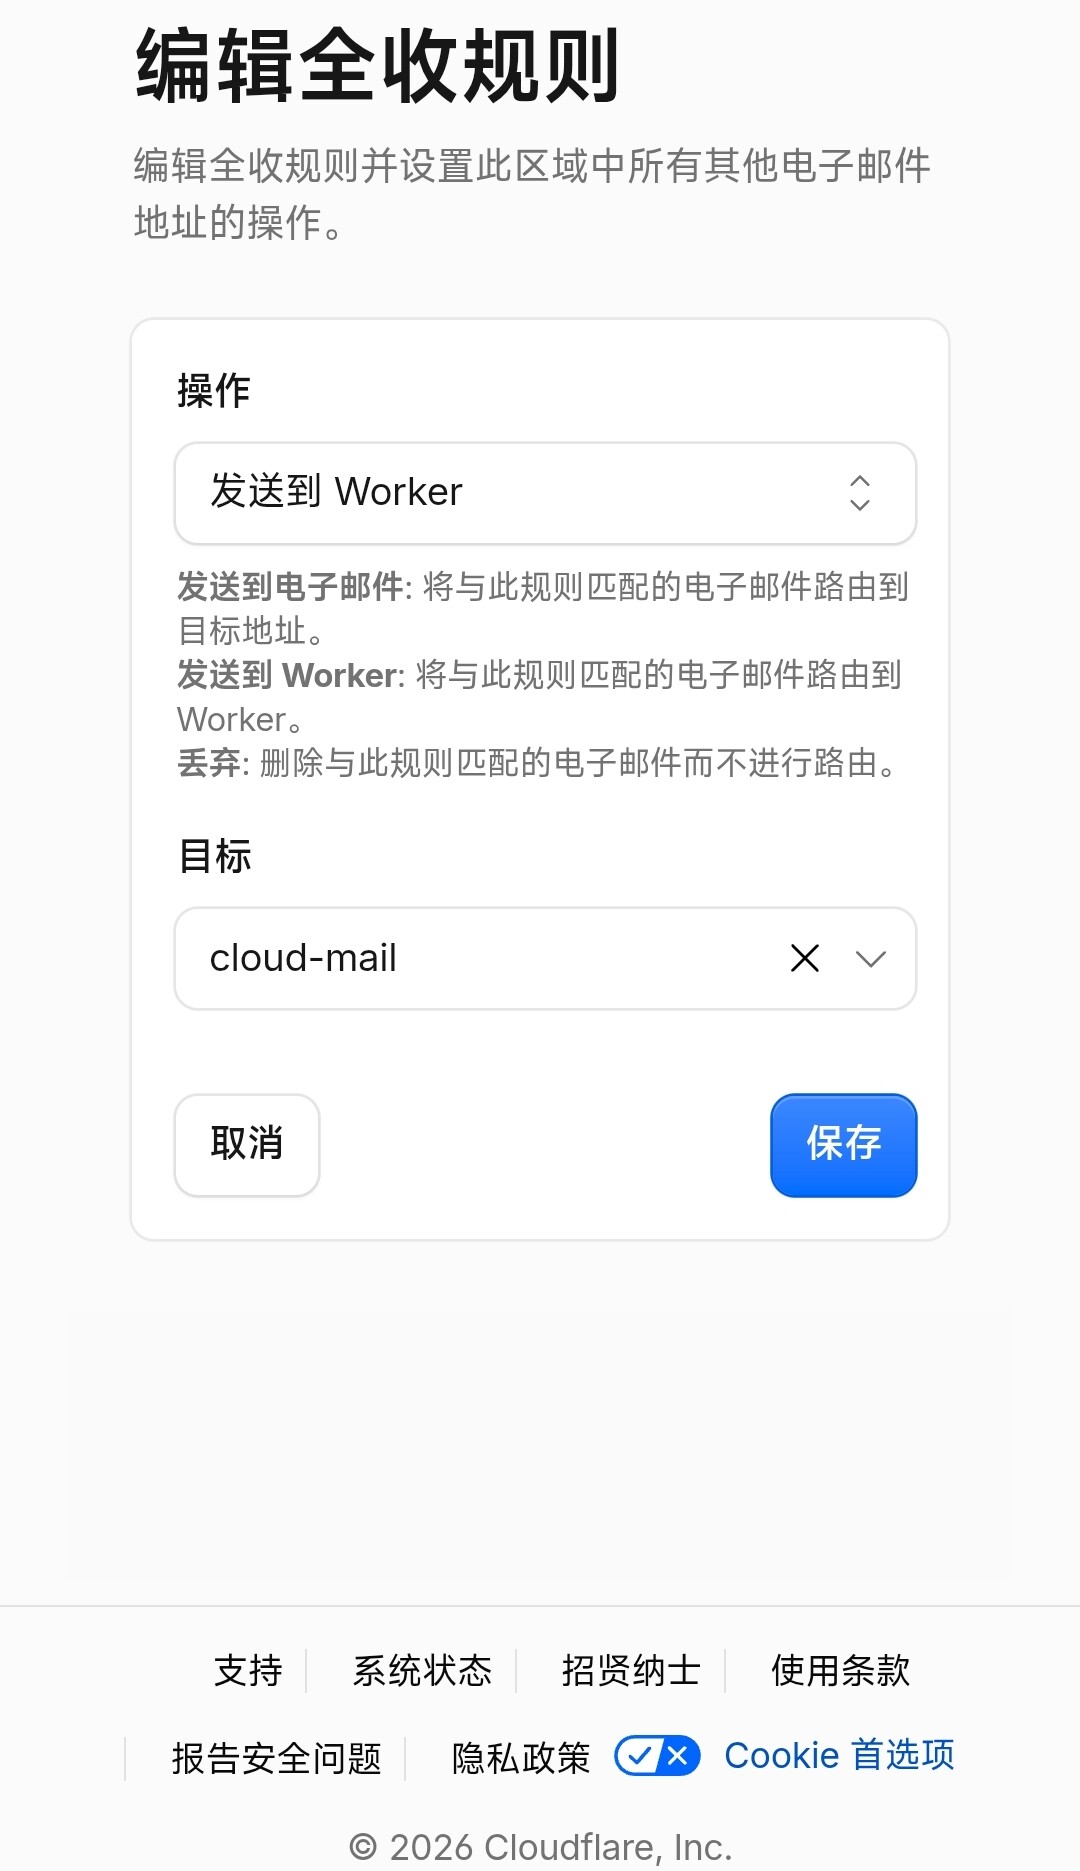
Change the “catch-all” rule to “Send to worker-cloudmail storage” and that’s it
Then go to Workers and bind to the URL you want (e.g. mail.a.a)
Then open (the URL you just bound)/api/init/(the jwt_secret you set)
Wait for a “success” message on the page
Go to your URL (e.g. mail.a.a)
Register your admin email; now you have admin rights - Sending outside the site
External email sending is a bit troublesome; you need resend
Go to resend and register
Open domain
Follow the instructions to add MX and TXT records (note: if it’s a.b.c, it’ll tell you to add send.a; just add send)
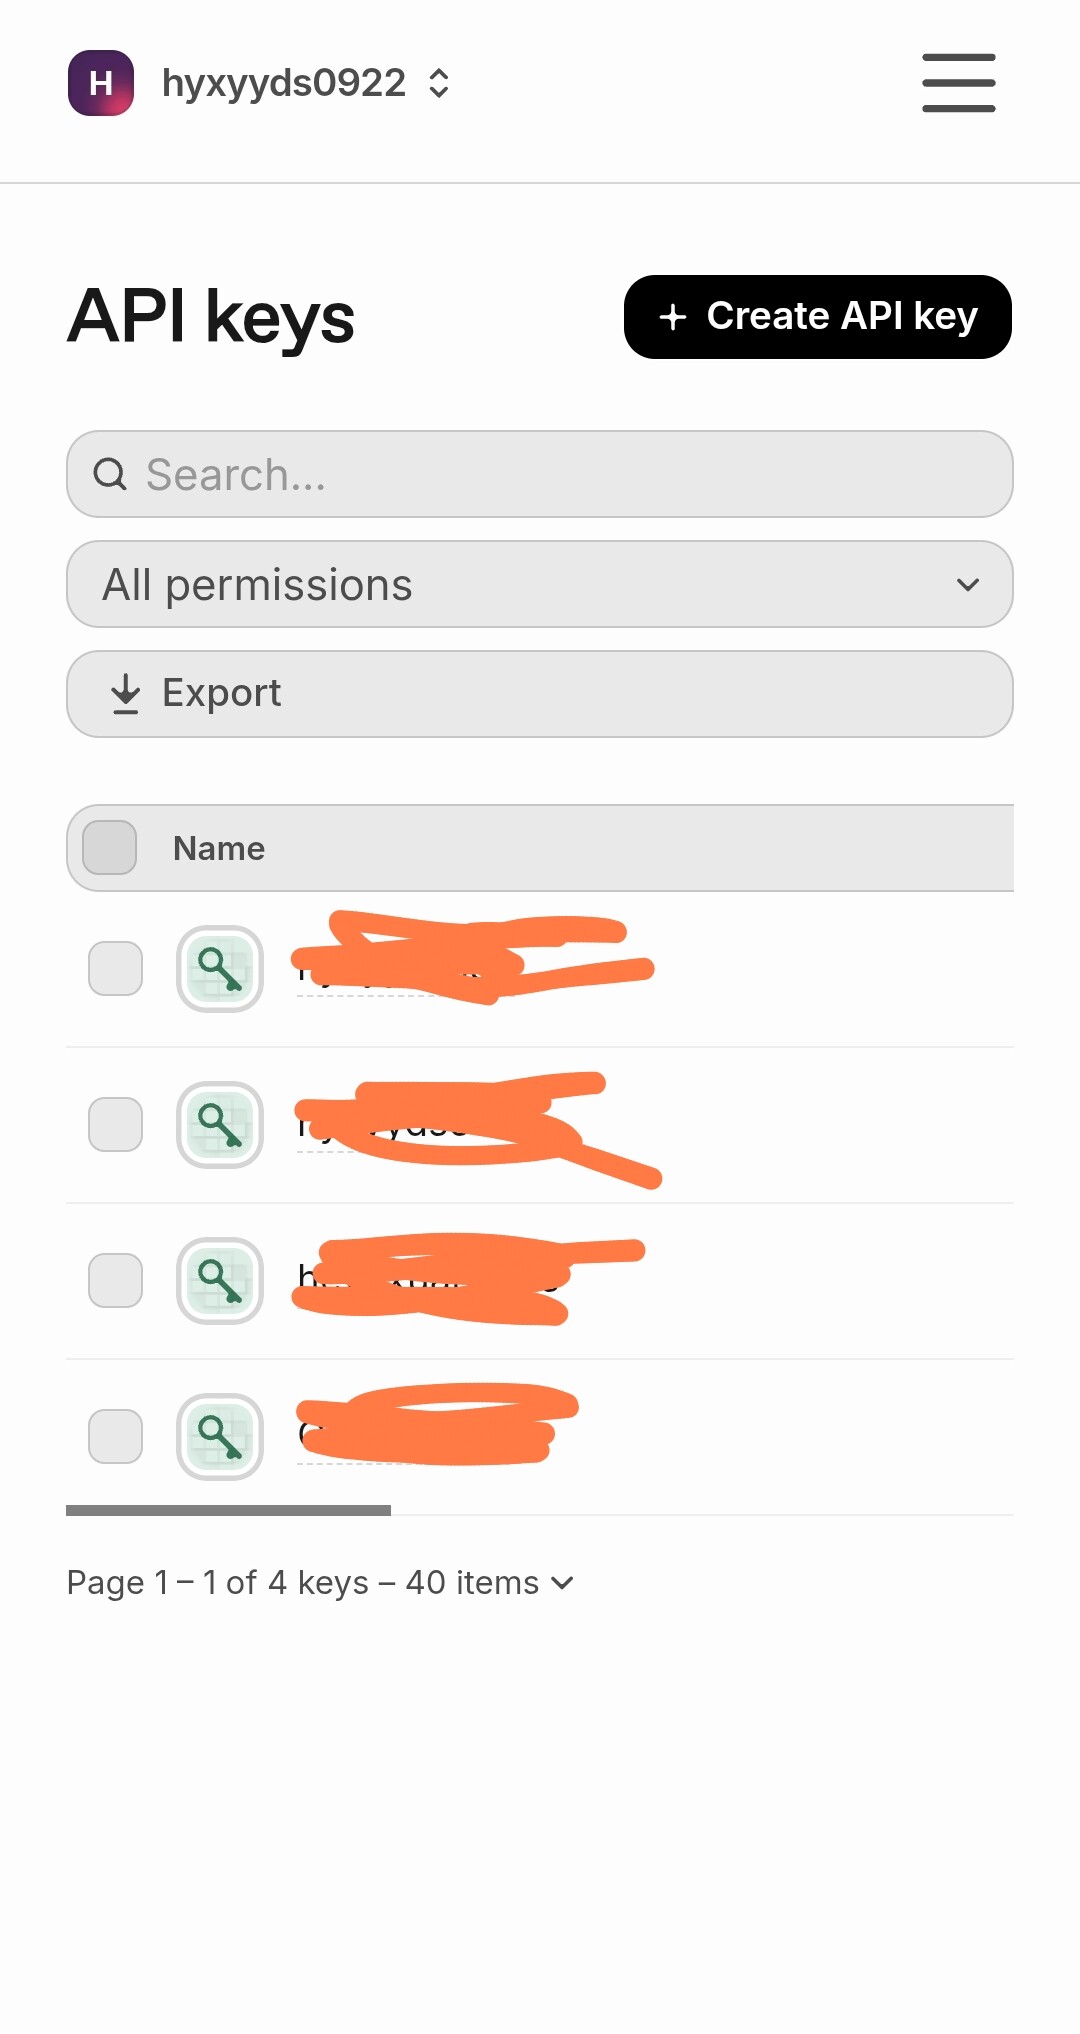
Then go to the API page and get the key (save it)
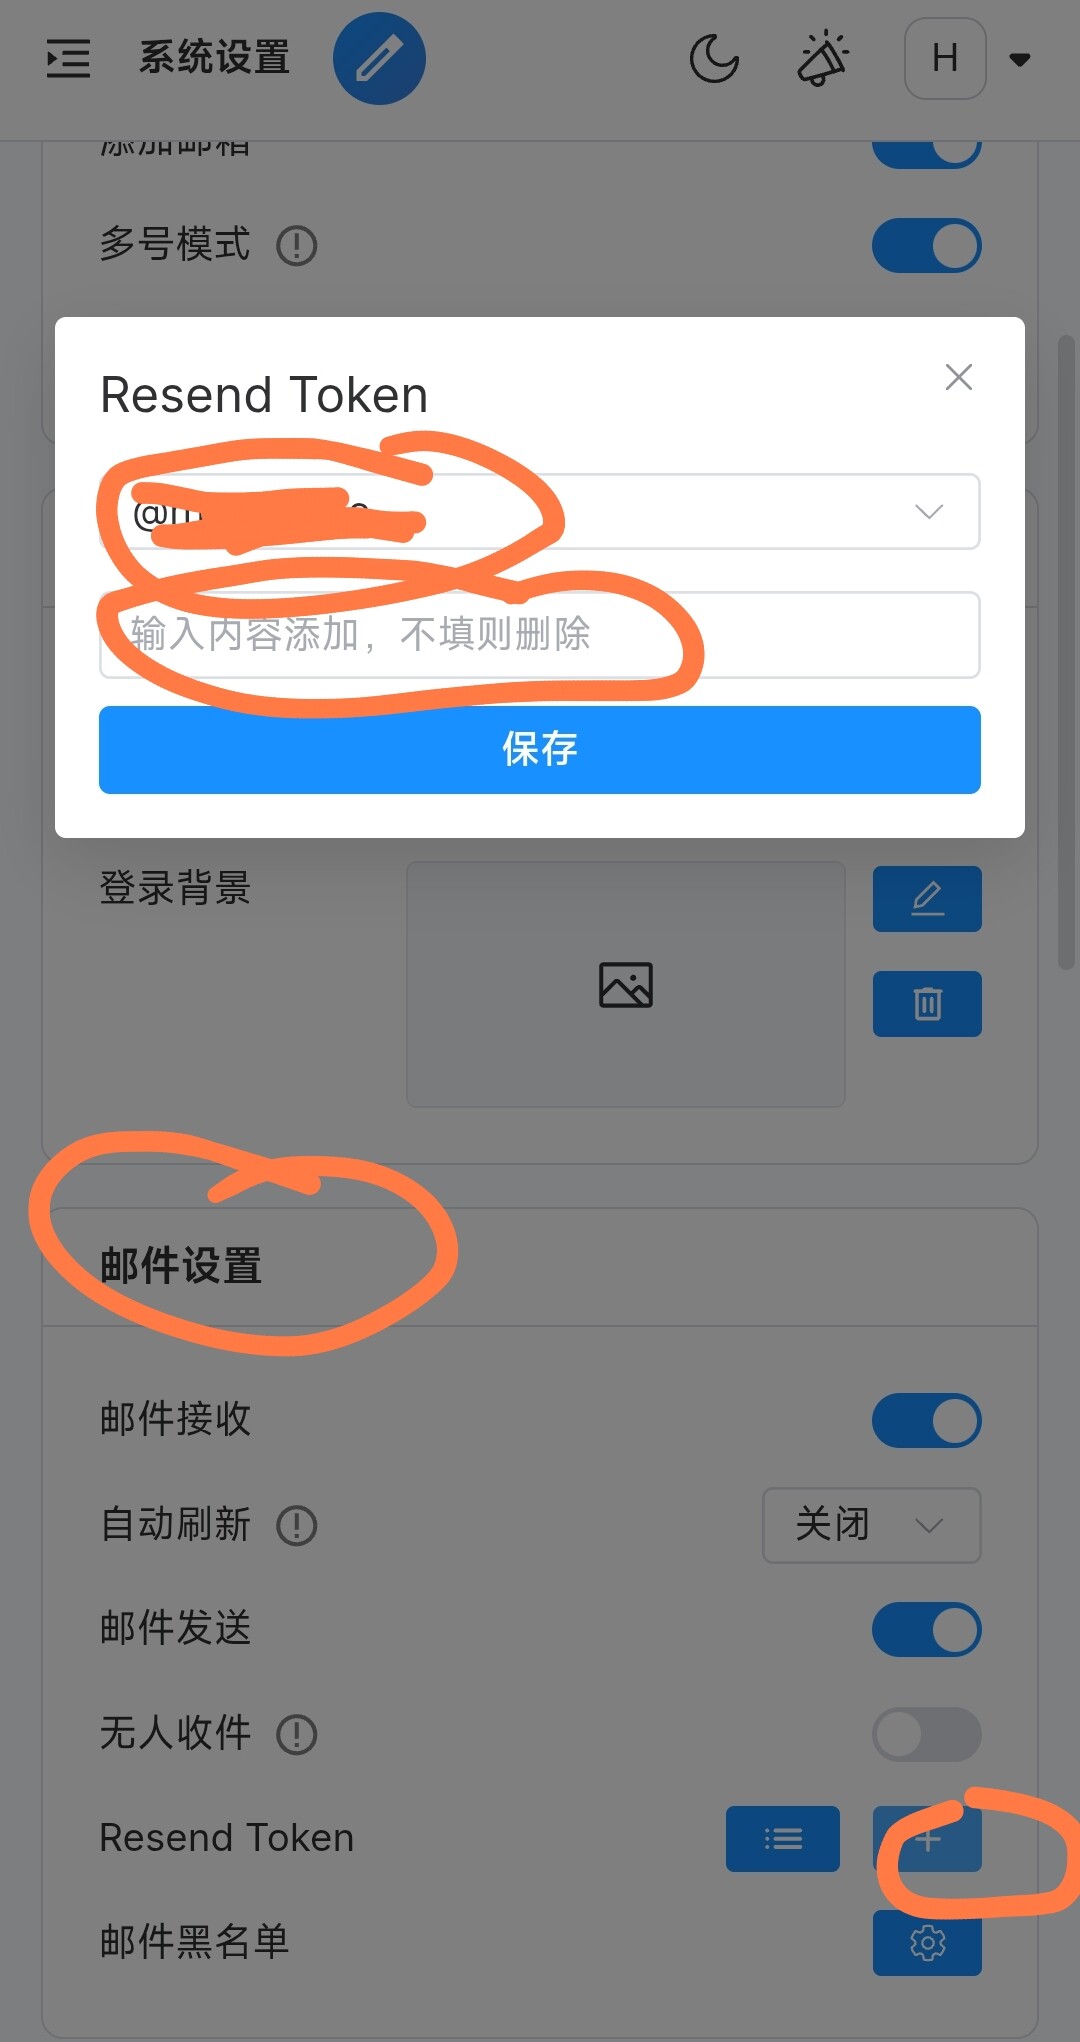
Then, in your email admin panel, go to email settings – add resend token, choose your suffix, and write down the resend API
- Other
The mail system also has announcements, permissions management, captcha, registration keys, etc. Feel free to explore!
How did I do writing this post?
- Good
- Not good
0
投票人
Was it necessary to add the affiliate code?
- Necessary
- Not necessary
0
投票人
Next post: 如何获得一个图床(建站三件套第三套)